- Master Sourdough Bread at Home: Your Essential Baking Guide
- Sourdough vs. Yeasted Bread: Understanding the Differences
- The Sourdough Starter: Your Essential Fermentation Engine
- Key Ingredients and Ratios for a Sourdough Bread Recipe
- Step by Step Sourdough Bread Recipe for Beginners
- Essential Tools for Baking Sourdough Bread at Home
- Reading Fermentation: The Real Key to Consistent Sourdough Bread
- Troubleshooting Common Sourdough Bread Problems
- Achieving a Crisp Crust and Open Crumb
- Storing and Slicing Your Sourdough Bread
- Building Long-Term Sourdough Consistency
Master Sourdough Bread at Home: Your Essential Baking Guide
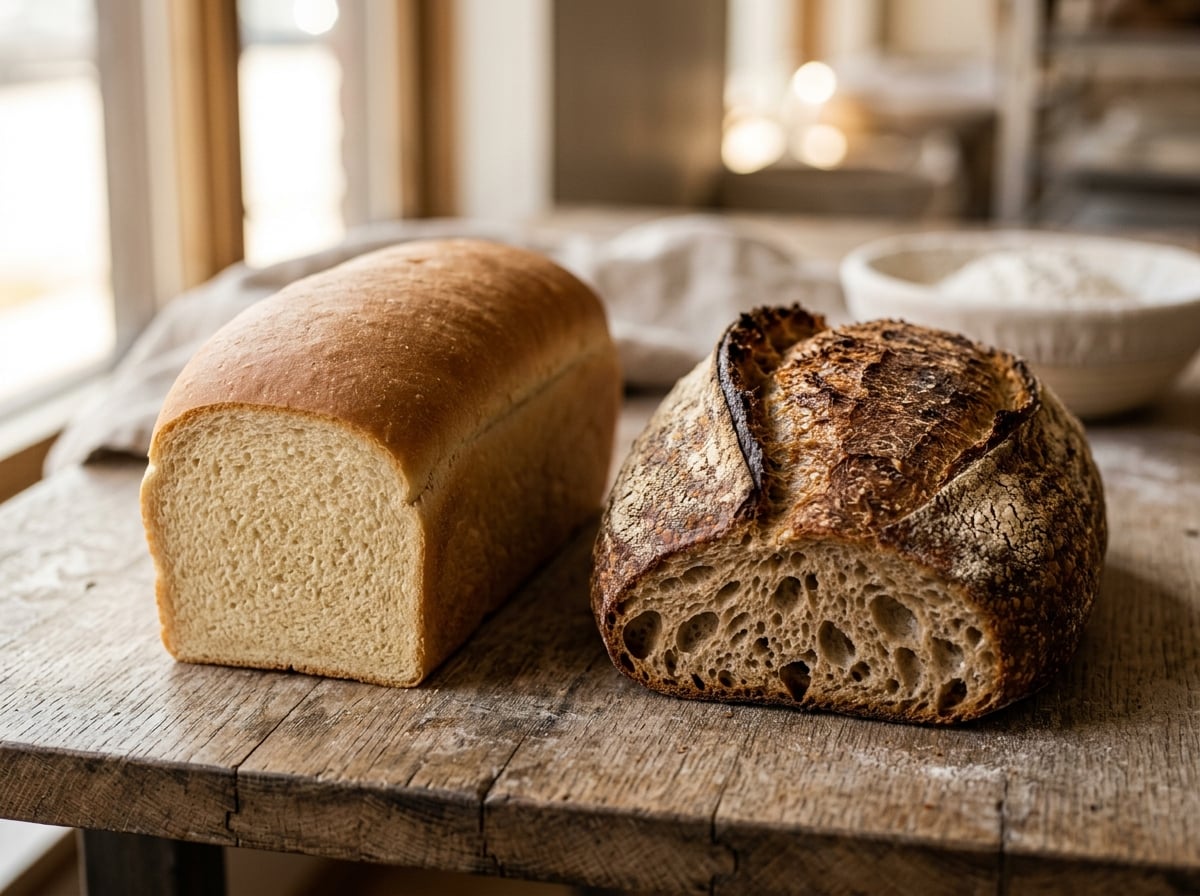
Sourdough bread stands apart from every other loaf on the bakery shelf because it relies on wild fermentation instead of commercial yeast. Picture a loaf made from nothing more than flour, water, and salt, leavened entirely by a living culture of wild yeast and lactic acid bacteria. If you've bitten into a slice with a tangy edge, a crackling crust, and an irregular, glassy crumb dotted with holes, you already know why so many home bakers get hooked on this craft. This guide walks through everything you need to bake sourdough bread at home with consistent results — from building a strong starter to fixing a loaf that refuses to rise.
Sourdough vs. Yeasted Bread: Understanding the Differences
Traditional yeasted bread rises quickly because of commercial baker's yeast (Saccharomyces cerevisiae), a single cultivated strain bred for fast, predictable carbon dioxide production. Mix it into dough and you'll usually see a full rise within an hour or two.
Sourdough works differently. It depends on a starter — a fermented mix of flour and water that's home to wild yeast and lactobacilli bacteria drawn naturally from the flour and the surrounding air. That microbial community moves at a much slower pace than commercial yeast, and that slowness is exactly what gives sourdough bread its depth of flavor and character.
A few key differences worth understanding before you start:
- Fermentation time. A standard yeasted loaf might finish bulk fermentation in 60–90 minutes. Sourdough usually needs 4–12 hours, depending on temperature and how vigorous your starter is.
- Flavor profile. The lactic and acetic acids produced during that longer fermentation create sourdough's signature tang — mild and yogurt-like in warmer, faster ferments, sharper and more vinegary in longer, colder ones.
- Digestibility. The extended fermentation breaks down more gluten and starch before the bread ever hits the oven. That's a big reason people who struggle with regular bread often tolerate a properly fermented sourdough loaf better.
- Shelf life. Natural acidity acts as a built-in preservative. A well-baked loaf, similar in spirit to a blueberry sourdough bread from the bakery aisle, can stay fresh on the counter for 4–5 days — noticeably longer than most yeasted breads. If you're curious about creative formats, sourdough bread bowls make a fun presentation for soups and stews.
The Sourdough Starter: Your Essential Fermentation Engine
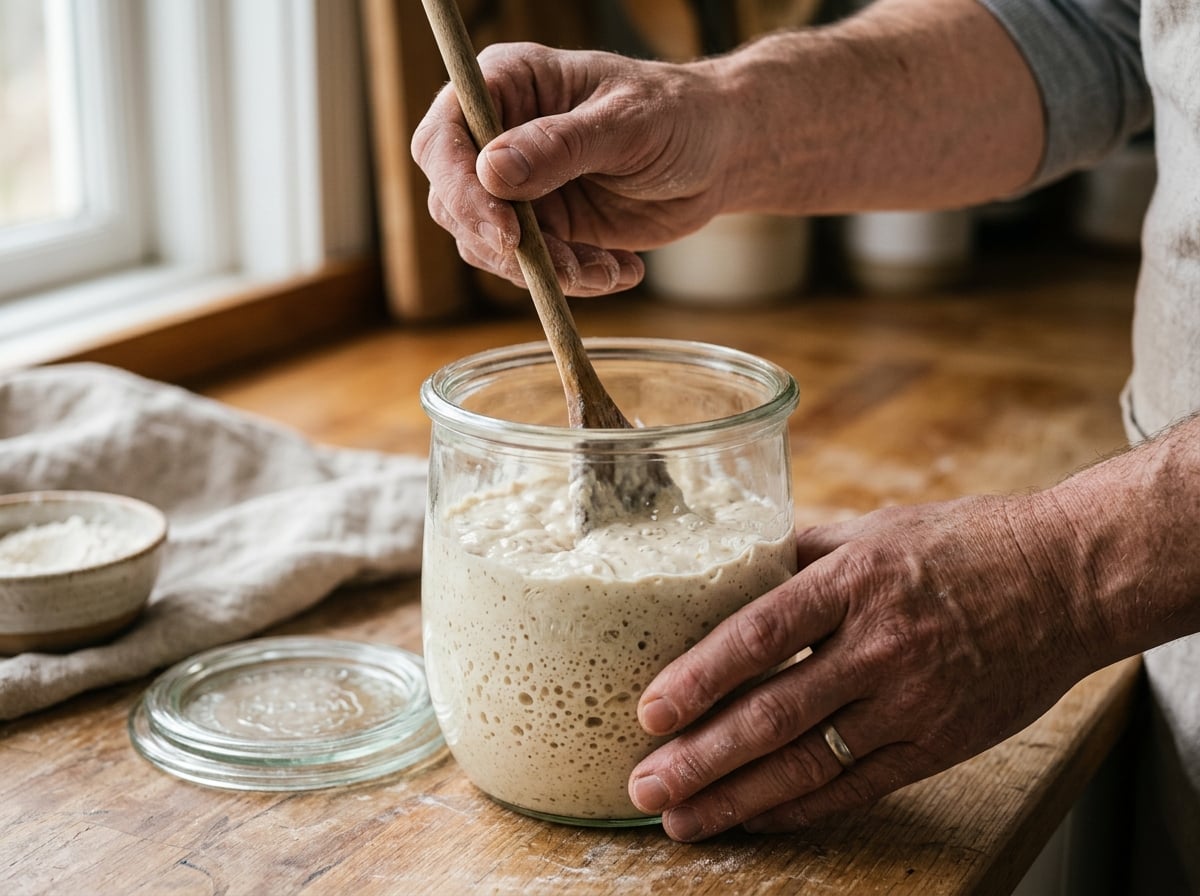
Your starter is the engine behind every loaf, and there's no substitute for it — no packet of instant yeast will replicate what a mature culture does. It's a living mix of wild yeast and bacteria suspended in a flour-and-water paste, kept active through regular feedings.
A healthy, mature starter should roughly double in size within 4–8 hours of being fed. It should smell pleasantly sour, somewhere between yogurt and ripe fruit — not like paint thinner or nail polish remover, which usually signals it's hungry or struggling. The float test is a reliable check: drop a small spoonful into a glass of water, and if it floats, it's aerated enough to leaven bread.
Building a starter from scratch typically takes 7–14 days:
- Combine 50g whole wheat or rye flour with 50g water in a clean jar. Rye tends to ferment faster than white flour because it carries a richer supply of wild yeast and enzymes, which makes it a smart choice for first-timers.
- Feed daily with the same flour-to-water ratio, discarding roughly half the starter before each feeding. This keeps the population in check and gives the culture fresh food to work with.
- By day 3 or 4, you'll likely see bubbling and some rise. That's often an early, temporary burst from less desirable bacteria — keep feeding on schedule rather than assuming it's ready.
- By day 7–10, a steady rise-and-fall pattern should settle in, which is the sign your starter is mature enough to test in an actual loaf.
Once established, a starter can live for years, even decades, with basic care. Keep it at room temperature and feed it once or twice a day if you bake often. If you bake less frequently, refrigerate it and feed it weekly instead. For more detail on keeping a culture alive long-term, see our complete guide to sourdough starters, or start from zero with our step-by-step starter guide.
Key Ingredients and Ratios for a Sourdough Bread Recipe
A sourdough bread recipe looks deceptively simple on paper: flour, water, salt, and starter. In practice, getting the ratios right matters more than any fancy technique you might pick up later.
Flour. Bread flour, with 11–13% protein, gives beginners the best structure because its gluten network holds gas efficiently. Whole wheat and rye add flavor and nutrition but absorb more water and produce a denser crumb. Many bakers land on a sweet spot by blending 10–20% whole grain flour into an otherwise white-flour dough.
Water (hydration). This is measured as a percentage of total flour weight. A solid starting point is 70–75% hydration — for example, 750g water per 1,000g flour. Drop below 65% and the dough handles easily but can bake up tight and cakey. Push above 80% and you'll get a beautifully open crumb, but the dough turns slack and sticky, which takes more practice to manage.
Salt. Salt usually sits at 2% of flour weight (20g per 1,000g flour). Beyond flavor, it tightens gluten and slows fermentation slightly. Skip it or add it too late and you'll notice a difference in both texture and timing.
Starter. For an overnight bulk rise at room temperature, 15–20% of the flour weight is generally enough. Bump that to 25–30% if you want a faster rise. More isn't automatically better — too much starter can rush fermentation past the point of good flavor development, while too little stretches it out and risks excessive sourness.
A dependable base formula for two standard loaves: 1,000g flour, 750g water, 20g salt, and 200g active starter. This is essentially the backbone of most solid sourdough bread recipes you'll find, including our own go-to sourdough recipe.
Step by Step Sourdough Bread Recipe for Beginners
Here's how the process breaks down from mixing bowl to finished loaf. If you want a more detailed walkthrough with photos and timing charts, our step-by-step baking guide covers each stage in more depth.
1. Mixing (autolyse prep). Combine flour with most of your water, holding back a small amount (called bassinage) to adjust consistency later. Mix just until there's no dry flour left.
2. Autolyse. Let the flour-water mixture rest, covered, for 30 minutes to an hour before adding starter and salt. This gives the flour time to fully hydrate and lets enzymes start breaking down starches, which builds gluten strength with far less kneading than you'd otherwise need.
3. Bulk fermentation. Mix in the active starter and salt until evenly distributed, then let the dough rise at room temperature — ideally 74–78°F (23–26°C) — for 4–6 hours. Skip traditional kneading in favor of stretch-and-folds: 4 to 6 sets, spaced about 30 minutes apart, gently folding the dough over itself to build structure.
4. Shaping. Once the dough has grown noticeably (30–75% is typical, depending on the recipe) and small bubbles show on the surface, turn it onto a lightly floured counter. Pre-shape it into a loose round, let it rest 20–30 minutes, then do the final shape. You want enough tension to hold its form without tearing the surface.
5. Proofing. Move the shaped dough, seam-side up, into a well-floured banneton. From here you have two paths: 1–2 hours at room temperature, or 12–16 hours in the fridge overnight, which develops better flavor and makes scoring easier.
6. Baking. Preheat the oven with a Dutch oven inside to 475–500°F (245–260°C). Score the top with a sharp blade, then bake covered for 20 minutes to trap steam. Remove the lid and bake another 20–25 minutes until the crust turns deep golden brown and the loaf sounds hollow when tapped.
Essential Tools for Baking Sourdough Bread at Home
You don't need a professional setup, but a handful of tools make a real difference:
- Banneton (proofing basket). Supports the shaped dough during proofing and leaves the classic ridged pattern on the crust. A well-floured 9-inch round or oval works for most home loaves.
- Dutch oven. Essential for trapping steam early in the bake, which is what gives sourdough its glossy, crackling crust. A 5–7 quart cast iron or enameled pot does the job well.
- Scoring blade (lame). A razor mounted on a handle, held at a shallow angle, gives you control over exactly where the loaf expands. A regular kitchen knife tends to tear the dough rather than slice it cleanly.
- Kitchen scale. Probably the single biggest upgrade you can make. Weigh your ingredients rather than measuring by volume for consistent results every time.
- Bench scraper. Makes handling wet, sticky dough far easier without adding extra flour that throws off your hydration.
Reading Fermentation: The Real Key to Consistent Sourdough Bread
Learning to read fermentation is what separates bakers who get consistent results from those who feel like they're gambling every time. Pay closer attention to how the dough feels and looks than to the clock.
Well-fermented dough feels light and jiggly, with a visible increase in volume — usually 50–75% growth rather than a full double. You'll see small bubbles just under the surface. Poke it gently and the indentation should spring back slowly, leaving a faint dimple behind.
Under-proofed dough feels dense and tight. Poke it and it springs back almost instantly, with little to no surface bubbling. Bake it at this stage and you'll end up with a dense, gummy interior and a tight crumb with minimal oven spring — which is one of the most common reasons people ask why their sourdough bread is dense and not rising the way they expected.
Over-proofed dough feels slack and overly soft. A poke leaves a dimple that doesn't spring back at all, and the dough may look flat or slightly deflated even before baking. The result is a flat loaf despite plenty of rise time, because the gluten structure has broken down and can no longer hold gas.
Troubleshooting Common Sourdough Bread Problems
Even bakers with years of experience run into these issues occasionally. Here's how to fix them:
- Dense loaf overall. This almost always points to under-fermentation or a sluggish starter. Run the float test before you mix, and let the dough's behavior — not the clock — decide when bulk fermentation is done. If your loaf keeps coming out dense and heavy, weak starter activity is the most likely culprit, followed by under-proofing.
- Gummy crumb. Usually means the loaf was undercooked or sliced too soon. Bake to an internal temperature of 205–210°F (96–99°C), and let the loaf cool fully for 1–2 hours before cutting — the crumb keeps setting even after it leaves the oven.
- Flat, spread-out loaf. Typically a sign of over-proofing or dough that's too slack from excess hydration. Tighten your shaping technique, shorten the proof, or drop hydration by about 5% until your handling improves. If gluten is the issue entirely rather than technique, it's worth looking at gluten-free sourdough options that can deliver a similar texture without wheat flour.
- No oven spring. Often traced back to shallow scoring that doesn't allow proper expansion, an oven that isn't hot enough, or not enough steam during the first phase of baking.
Achieving a Crisp Crust and Open Crumb
Steam makes the crust. The Dutch oven method works so well because it traps the moisture the dough releases on its own during the first 20 minutes of baking, keeping the crust flexible long enough for full oven spring before it sets. Lifting the lid too early is one of the most common mistakes bakers make — resist the temptation to check on it.
For an open crumb, hydration and gentle handling matter more than any single trick. Dough at 78% hydration or higher, combined with careful shaping that avoids knocking out too much gas, tends to produce the large, irregular holes bakers chase. A slow, cold overnight fermentation in the fridge also helps build flavor and structure without pushing the dough into over-fermentation territory.
Storing and Slicing Your Sourdough Bread
Let the loaf cool completely before you cut into it. Slicing a hot loaf releases steam that's still needed to finish setting the crumb, and you'll end up with a gummier texture than you want. Once cooled, store it cut-side down on a wooden board for a day or two, or in a paper bag to keep the crust crisp. Plastic bags soften the crust but stretch shelf life to 4–5 days. For longer storage, slice the cooled loaf and freeze the pieces, then toast straight from frozen whenever you need a slice.
If loaves aren't quite your speed yet, the same starter and dough principles apply to smaller formats — sourdough rolls are a forgiving place to practice shaping and timing before tackling a full boule.
Building Long-Term Sourdough Consistency
Bakers who get consistent results share a few habits: they judge dough by feel and appearance rather than rigidly following a timer, they keep their starter on a steady feeding schedule, and when something goes wrong, they change one variable at a time instead of overhauling the whole process. Keep a simple log for your first 10 to 15 bakes — flour type, hydration, room temperature, fermentation time, and results. Patterns show up fast, and within a few weeks you'll be making instinctive adjustments instead of just following a recipe line by line.
Once you've got the core loaf dialed in, there's plenty of room to branch out. Discard doesn't have to go to waste — sourdough discard pretzel bites are a quick way to use it up, and if you're baking sourdough as part of a broader health goal, it's worth reading about whether sourdough bread supports weight loss before you build it into a regular routine.
Leave a Reply