Delicious Sourdough Discard Pretzel Bites: Soft, Chewy, & Easy
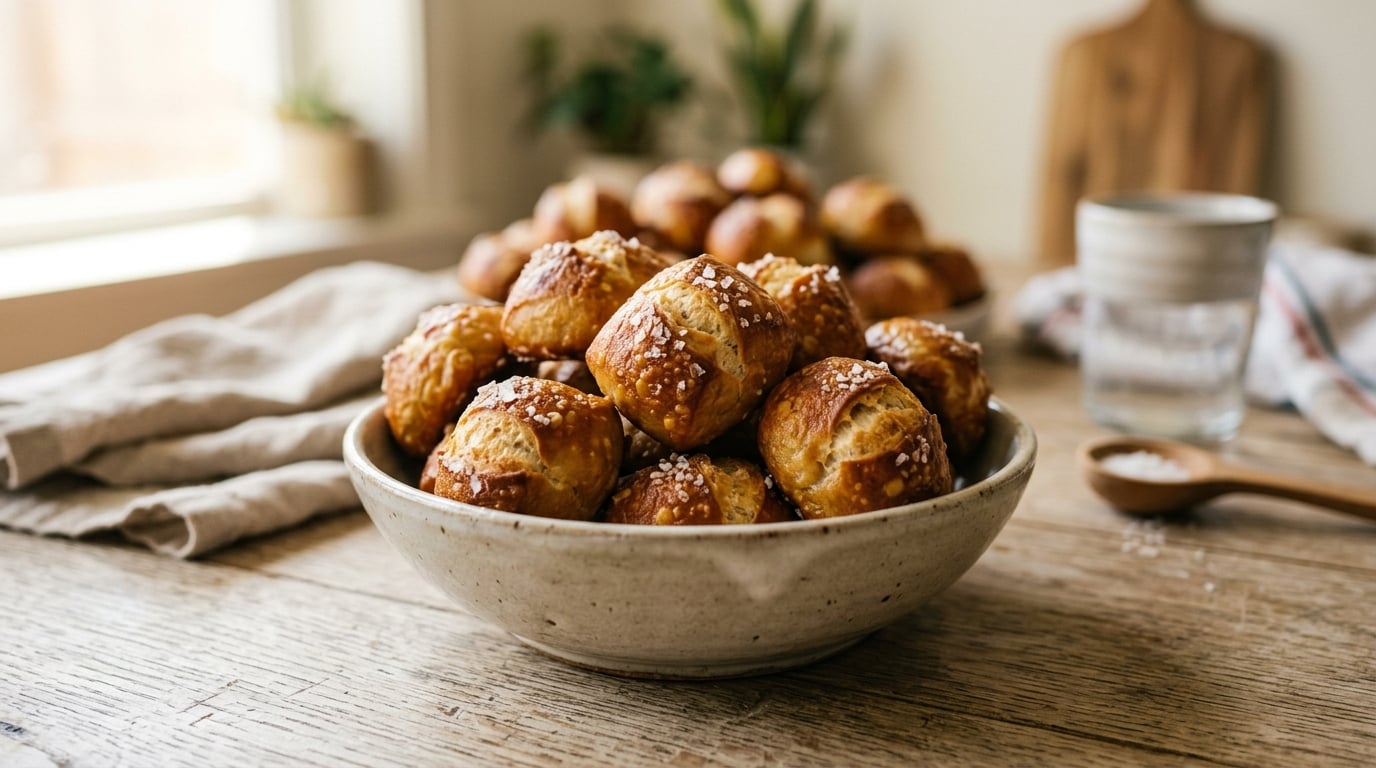
If you’ve got a jar of sourdough discard sitting in your fridge and no clear plan for it, sourdough discard pretzel bites are one of the best ways to use it up. They’re soft in the middle, chewy on the outside, and covered in that deep golden-brown crust that makes pretzels so satisfying to eat. Unlike a lot of discard recipes that just tolerate the tangy flavor, this one actually benefits from it — the slight sourness plays really well against the malty sweetness of a proper baking soda bath. You don’t need a stand mixer, you don’t need to feed your starter first, and you can have a batch ready in under two hours, most of which is hands-off rise time.
- What Are Sourdough Discard Pretzel Bites?
- Essential Ingredients for Sourdough Discard Pretzel Bites
- Step-by-Step Guide to Making Sourdough Discard Pretzel Bites
- Tips for Achieving Classic Chewy Texture and a Golden Crust
- Creative Flavor Variations for Your Pretzel Bites
- Perfect Dipping Sauces for Pretzel Bites
- Storage and Reheating Best Practices
- Common Mistakes to Avoid When Making Pretzel Bites
- Frequently Asked Questions About Sourdough Discard Pretzel Bites
What Are Sourdough Discard Pretzel Bites?
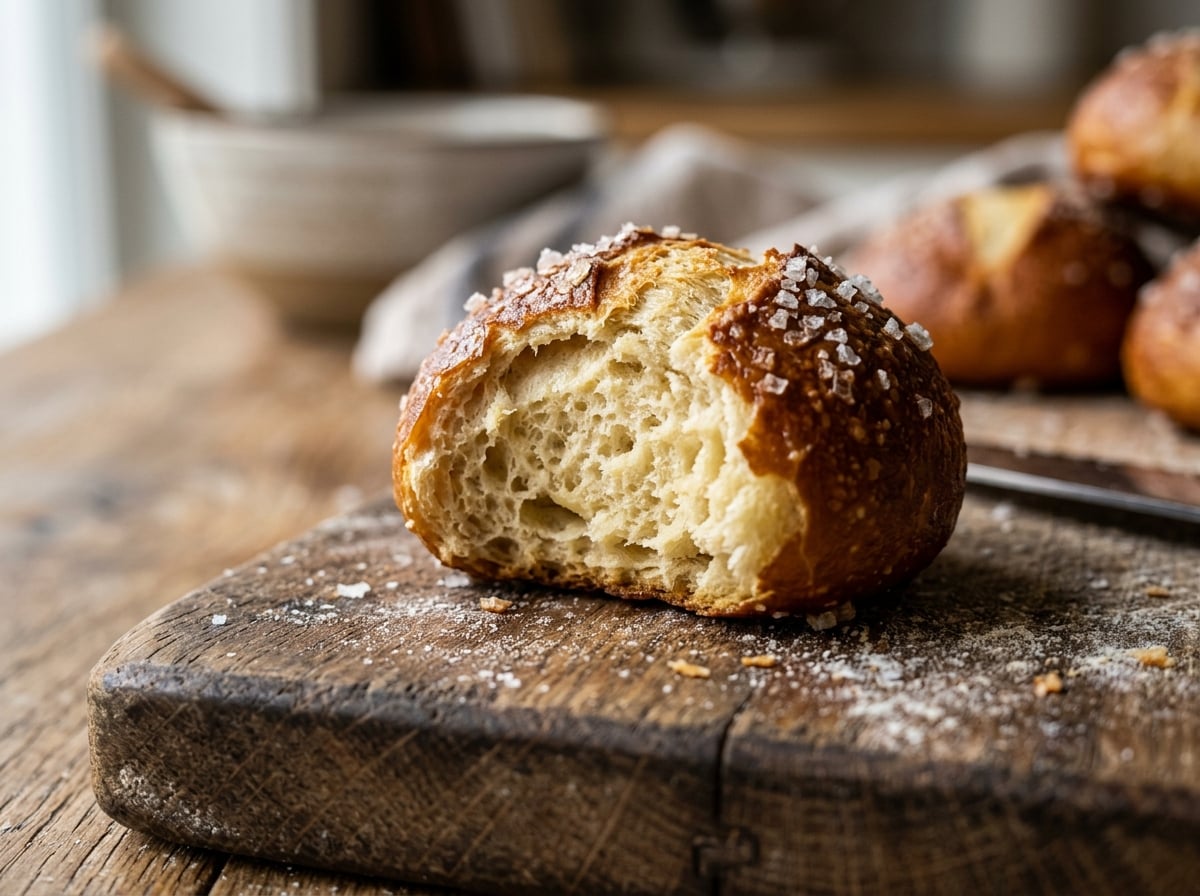
Pretzel bites are exactly what they sound like: perfectly bite-sized pieces of pretzel dough, briefly boiled in an alkaline bath, and then baked until deeply browned with a slightly crackly exterior. They offer a softer, more approachable texture than a traditional full-sized pretzel, making them ideal for dipping and a fantastic option for parties or an easy after-school snack.
Why Sourdough Discard Excels in Pretzel Bites
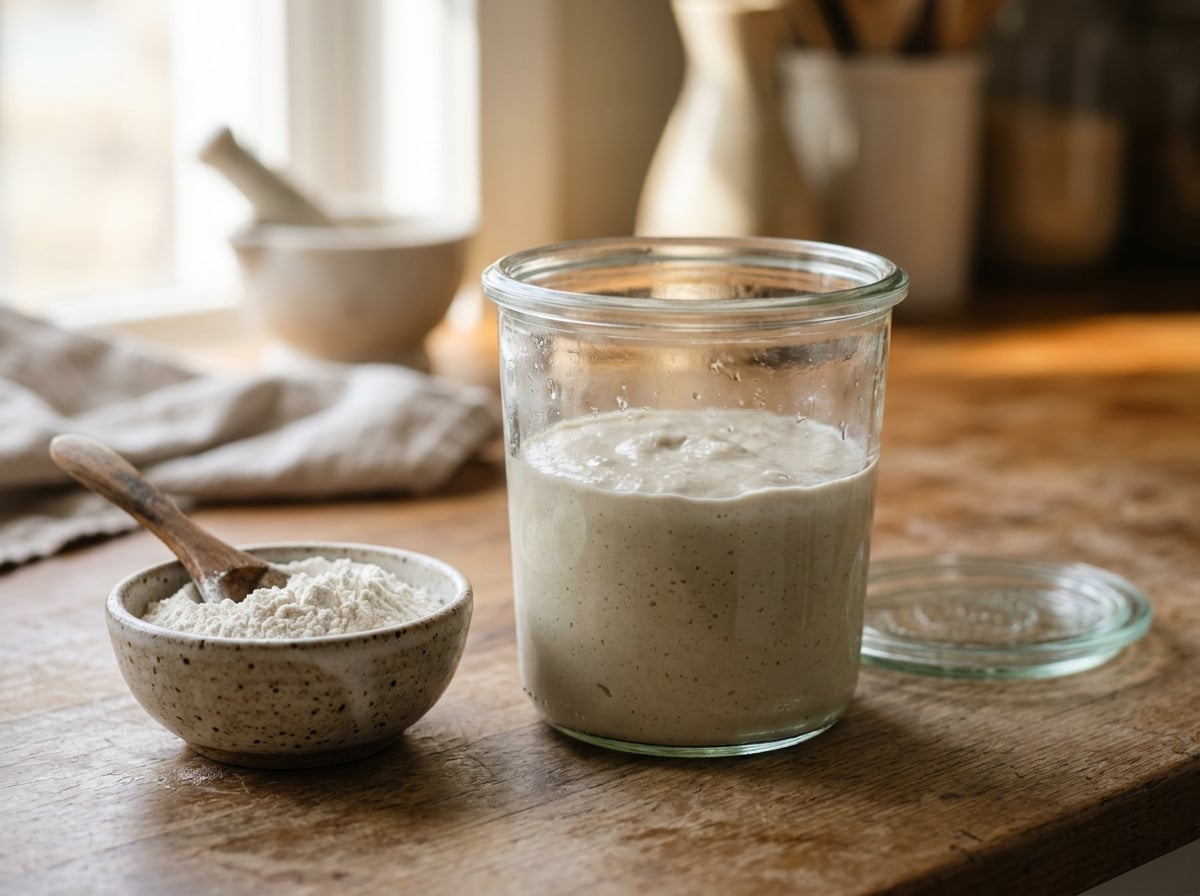
Sourdough discard is simply the unfed portion of your starter that you would typically remove before refreshing it. Even without the robust activity needed to leaven a full loaf of sourdough bread, it’s still packed with complex flavor compounds and some residual wild yeast. In this particular recipe, the discard performs two crucial roles:
- **Flavor Enhancement:** It introduces a subtle tang that elevates the pretzel’s taste beyond the simple, often bland, mall-food versions.
- **Structural Contribution:** The acidity from the discard subtly strengthens gluten development within the dough, which is key to achieving that desirable chewy pretzel texture.
Since this recipe primarily relies on commercial yeast (either instant or active dry) for leavening, there’s no need to worry about the activity level of your discard. This makes it a very forgiving recipe; discard that’s been in the fridge for several days and appears less vigorous will work perfectly well.
Essential Ingredients for Sourdough Discard Pretzel Bites
You won’t need any unusual ingredients for these pretzel bites. Here’s a breakdown of what’s important and why:
- Sourdough Discard: Unfed, straight from the refrigerator. Approximately 1 cup (240g) is typically used for a batch yielding 40-50 bites.
- Flour: You can use either bread flour or all-purpose flour. Bread flour, with its higher protein content, will yield a chewier pretzel. All-purpose flour is a perfectly acceptable substitute if that’s what you have.
- Yeast: Instant or active dry yeast is the primary leavening agent. This ensures your dough rises efficiently, a speed that discard alone wouldn’t achieve.
- Butter: Melted butter is incorporated into the dough for tenderness. An additional brushing of melted butter after baking adds flavor and a beautiful sheen.
- Baking Soda Bath: This step is critical and non-negotiable. A brief dip in boiling water containing dissolved baking soda (roughly ⅓ cup per 8-9 cups of water) raises the surface pH of the dough. This chemical reaction is what gives pretzels their unique deep brown crust and distinctive flavor.
- Coarse Pretzel Salt: Unlike fine table salt, coarse crystals adhere better to the wet dough surface after the bath, providing that essential salty crunch with every bite.
Step-by-Step Guide to Making Sourdough Discard Pretzel Bites
1. Prepare the Dough
In a large mixing bowl, combine warm water (around 110°F) with your chosen yeast and a spoonful of sugar or honey. Allow this mixture to sit for about 5 minutes until it becomes foamy, indicating that the yeast is active. Next, stir in the sourdough discard, melted butter, and salt. Gradually add the flour, mixing until a shaggy dough forms. Turn the dough out and knead it by hand for approximately 8 minutes, or if using a stand mixer, knead on medium speed for 5 minutes, until the dough is smooth, elastic, and springs back when gently poked.
Lightly oil a clean bowl, place the dough inside, and cover it. Allow it to rise in a warm spot for about 60-90 minutes, or until its volume has roughly doubled. Since commercial yeast is performing the majority of the leavening, this rise time is significantly faster than that of a solely naturally leavened dough.
2. Shape the Pretzel Bites
Once the dough has risen, gently punch it down to release the air. Divide the dough into 6-8 equal portions. Take each portion and roll it into a rope approximately ¾ inch thick. Using a bench scraper or a sharp knife, cut these ropes into 1-inch pieces. Aim for uniform sizing as much as possible; this ensures even cooking, preventing some pieces from becoming overbaked while others remain doughy.
3. The Crucial Baking Soda Bath
Bring 8-9 cups of water to a vigorous rolling boil in a wide pot. Carefully stir in ⅓ cup of baking soda — expect some fizzing, which is normal. Working in small batches of 10-15 pieces to avoid overcrowding, gently drop the shaped dough bites into the boiling bath. Boil them for precisely 20-30 seconds. Do not skip or shorten this step; it is fundamental to developing the distinct pretzel skin. Use a slotted spoon to remove the bites, allowing them to drain briefly before transferring them to a baking sheet lined with parchment paper.
4. Bake to Golden Perfection
Preheat your oven to 425°F (220°C). Arrange the boiled pretzel bites on the parchment-lined baking sheet, ensuring they are spaced out and not touching, which allows for even browning. While the bites are still wet from the bath, sprinkle them generously with coarse pretzel salt — the moisture helps the salt adhere. Bake for 12-15 minutes, or until they achieve a deep, rich mahogany brown color. Immediately upon removing them from the oven, brush the hot pretzel bites with melted butter.
Tips for Achieving Classic Chewy Texture and a Golden Crust
The hallmark texture and color of a truly great pretzel are the result of specific techniques, not chance:
- Embrace the Baking Soda Bath: This is the most critical step. Skipping or rushing it is the primary reason homemade pretzels turn out pale and bread-like rather than dark and chewy.
- Maintain a Vigorous Boil: Ensure the water for your baking soda bath is at a true rolling boil, not just a simmer. A weak boil won’t effectively raise the dough’s surface pH within the short dipping time.
- Pre-Boil Drying: Allow your shaped dough pieces to rest on the counter for about 10 minutes before boiling. This slight drying helps prevent the dough from becoming gummy in the bath.
- Bake at High Heat: A temperature of 425°F (220°C) is ideal. It’s hot enough to promote rapid browning without over-drying the interior before the crust fully develops.
- Scoring (for larger pretzels): While not necessary for bite-sized pieces, larger pretzel shapes often benefit from a score or dimple to help them expand without tearing during baking.
Creative Flavor Variations for Your Pretzel Bites
Once you’ve mastered the basic method, these sourdough discard pretzel bites are incredibly versatile for flavor customization:
- Cheese-Stuffed Bites: Before shaping, slightly flatten each dough piece. Place a small cube of cheddar or mozzarella in the center, then carefully pinch the dough closed around the cheese to form a ball. Boil and bake as usual; the cheese will melt into a delightful, gooey center.
- Sweet Cinnamon Sugar: After baking, skip the pretzel salt. Instead, brush the hot bites liberally with melted butter, then toss them in a mixture of cinnamon and sugar while they are still warm. These have a delightful resemblance to a soft pretzel doughnut.
- Savory Garlic Herb: Incorporate finely minced garlic, dried oregano, and a sprinkle of grated Parmesan cheese into the melted butter you brush on the pretzel bites after baking. This variation pairs exceptionally well with warm marinara sauce for dipping.
Perfect Dipping Sauces for Pretzel Bites
Elevate your pretzel bite experience with these classic and complementary dipping sauces:
- Beer Cheese Sauce: A quintessential pairing, often made with sharp cheddar cheese and a splash of lager for depth of flavor.
- Honey Mustard: The perfect balance of sweet and tangy, offering a delightful contrast to the pretzel’s saltiness.
- Warm Marinara: Especially delicious with the garlic herb variation, providing a familiar and comforting dip.
- Cream Cheese and Chive Dip: A cool, tangy option that beautifully offsets the warmth and richness of the pretzel bites.
- Spicy Mustard: For those who prefer a sharper, more piquant kick, a simple spicy brown mustard is ideal.
Storage and Reheating Best Practices
Sourdough discard pretzel bites are at their absolute best when enjoyed the day they are made. However, any leftovers can be stored for 2-3 days in an airtight container at room temperature. It’s normal for them to soften slightly overnight.
To restore their wonderfully chewy exterior, reheat them in a 350°F (175°C) oven for 5-7 minutes. Avoid using a microwave, as this tends to make them tough and rubbery in spots. A toaster oven is an excellent alternative for reheating smaller batches quickly. When reheating, avoid covering them tightly, as trapped steam will soften the crust you worked so hard to achieve.
Common Mistakes to Avoid When Making Pretzel Bites
Several issues can arise, but most are easily remedied:
- Dough Consistency: The most frequent problem is dough that is too wet, particularly if your discard has a thinner, pancake-batter-like consistency (which can vary depending on your starter’s hydration ratio). If the dough is sticky and difficult to shape after kneading, add flour one tablespoon at a time until it firms up. Conversely, if your dough is too dry and won’t come together smoothly, it likely means your discard was on the thicker side; a small splash of water will usually correct this.
- Baking Soda Bath Omission: Skipping the baking soda bath, or attempting to substitute it with an egg wash, fundamentally alters the final product. You’ll end up with a soft sourdough roll with a shiny top, not a true pretzel. The baking soda is what creates that distinctive pretzel texture and flavor. While some traditional recipes use food-grade lye for an even more authentic pretzel shop taste, baking soda provides excellent results for home bakers without the need for extreme caution.
- Overcrowding the Baking Sheet: A seemingly minor detail, but overcrowding your baking sheet causes the pretzel bites to steam rather than brown evenly on all sides, resulting in pale, soft spots.
Frequently Asked Questions About Sourdough Discard Pretzel Bites
Can you freeze sourdough discard pretzel bites?
Yes, absolutely! After baking and allowing them to cool completely, arrange the pretzel bites in a single layer on a baking tray and freeze until solid. Once frozen, transfer them to a freezer-safe bag. To reheat, simply bake them from frozen in a 350°F (175°C) oven for approximately 10 minutes.
Can I use unfed discard straight from the fridge?
Yes, that’s precisely what this recipe is designed for! There’s no need to feed or refresh your discard beforehand, as commercial yeast handles the primary leavening.
Does the discard need to come to room temperature before baking?
Not at all. You can use your sourdough discard directly from the refrigerator, even if it’s been stored there for a week or longer. There’s no requirement for it to reach room temperature or become active first for this recipe.
Leave a Reply