The Ultimate Sourdough Bread Recipe: Reliable, Flavorful Loaves Every Time
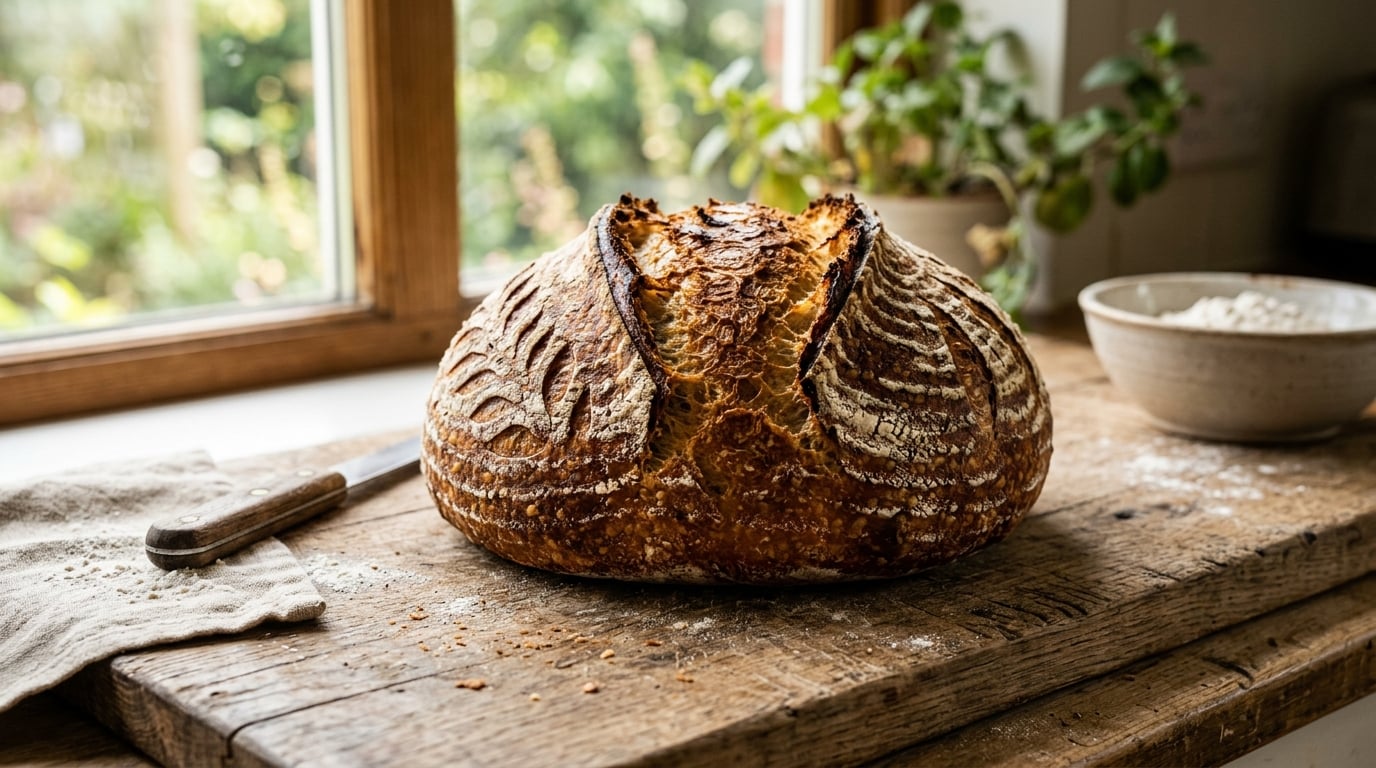
I've baked this exact sourdough bread recipe hundreds of times. It's the one I return to whether I'm testing a new flour, teaching a friend who's never fed a starter in her life, or just keeping the kitchen stocked with something better than store-bought. It's forgiving, predictable in the ways that matter, and it consistently produces a loaf with a shatter-crisp crust and an open, custardy crumb. If your past attempts have left you with dense bricks, flat pancakes, or that dreaded gummy center, this is the guide that fixes it.
This isn't a novelty recipe or a stripped-down version built for a photo. It's a genuinely simple sourdough bread recipe for beginners, but it also holds up as the best sourdough bread recipe I've handed to people who've been baking for years and still fight with their dough. The method stays the same; only your confidence changes.
- Why This Sourdough Recipe Stands Out for Reliability
- Essential Ingredients and Precise Ratios
- Indispensable Equipment for Sourdough Success
- The Detailed Sourdough Process: Step by Step
- Shaping Your Loaf: Boule or Batard
- Cold Proofing for Flavor and Manageability
- Scoring: The Art of the Perfect Crust
- Baking Instructions for a Pristine Loaf
- How to Determine Doneness
- Cooling: A Crucial Step for Crumb Perfection
- Troubleshooting Common Sourdough Challenges
- Sourdough Recipe Variations to Explore
- Storing Your Sourdough Loaf
Why This Sourdough Recipe Stands Out for Reliability
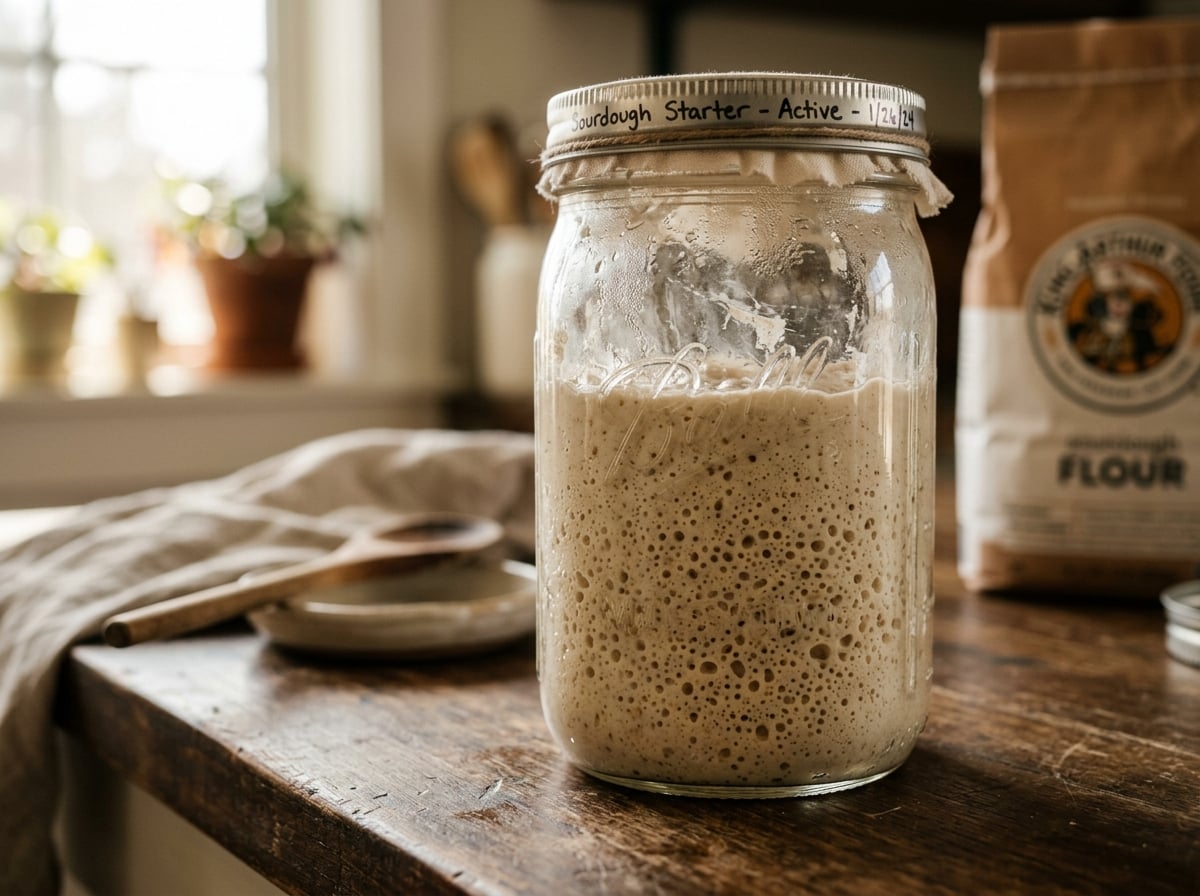
Most sourdough recipes fail beginners in the same way: they assume a kind of intuitive knowledge that only comes from months of trial and error. Instructions like "wait until doubled" mean nothing if you've never watched your own starter rise and don't know what its normal pattern looks like. This recipe strips out that ambiguity. You get real timeframes, visual markers you can actually check against, and temperature ranges instead of vague suggestions.
This is also a no fail sourdough bread recipe in the sense that it's built around a 75% hydration level — high enough to get that coveted open crumb, but not so wet that the dough turns into soup in your hands. I've pushed hydration to 80% and 85% plenty of times. The crumb gets slightly more dramatic, sure, but the dough becomes a genuine wrestling match unless you're working with a mixer or years of wet-dough experience. Seventy-five percent is the sweet spot for home bakers who want real results without fighting their counter.
If you're still building your starter or want to understand how it actually works before committing to a full bake, it's worth reading through this complete guide to sourdough starter first. Everything below assumes your starter is active and ready to go.
Essential Ingredients and Precise Ratios
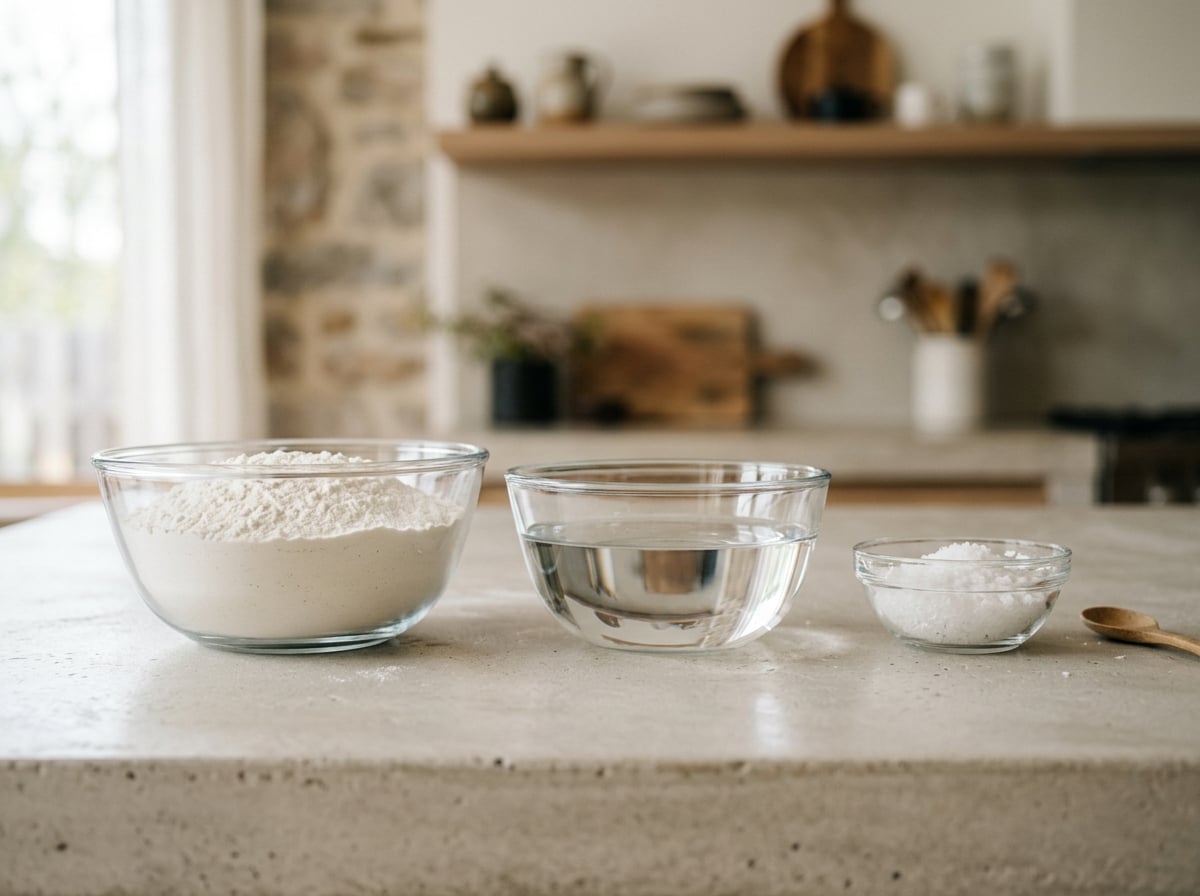
This recipe yields one generous loaf, roughly 900 grams before baking. Understanding baker's percentages here matters more than memorizing gram counts, because once you know the ratios, you can scale the recipe up for two loaves or down for a smaller household without breaking anything.
- 500g bread flour — the backbone of the loaf. Swap in 50g whole wheat flour for a nuttier, slightly denser result.
- 375g water, room temperature — this is 75% hydration relative to flour weight.
- 10g fine sea salt — 2% of flour weight. Non-negotiable for flavor and dough structure.
- 100g active sourdough starter — fed 4-8 hours before use, visibly bubbly, risen, and smelling pleasantly sour, almost like yogurt. If it smells sharply of alcohol or nail polish remover, it's hungry, not ready. Feed it again before you touch this recipe.
Baker's Percentages:
- Flour: 100%
- Water: 75%
- Salt: 2%
- Starter: 20%
Once these ratios click, you'll never need to hunt down a new recipe every time you want a different loaf size. Just do the math and scale.
If your starter isn't there yet — no bubbles, no rise, no smell to speak of — back up and work through how to make a sourdough starter from scratch before attempting this bake. A sluggish starter is the single biggest reason first loaves fail, and no amount of technique fixes an underfed culture.
Indispensable Equipment for Sourdough Success
A stand mixer isn't required. I make this dough entirely by hand, and honestly prefer it that way because you learn to read the dough with your fingers instead of trusting a machine. A few tools do make life easier, though:
- Large mixing bowl — at least 4 quarts, since the dough will expand considerably during bulk fermentation.
- Metal bench scraper — plastic ones flex and stick. Metal cuts and lifts dough cleanly.
- Banneton (proofing basket) — an 8-9 inch banneton, lined with a floured cloth if it's cane, for shaping and cold proofing.
- Dutch oven — a 5-6 quart pot with a lid rated to 500°F. This is the one piece of equipment I consider genuinely non-negotiable. It traps steam around the loaf during the first phase of baking, mimicking the steam-injected decks used in commercial bakeries. That steam is what gives you the crackly, blistered crust sourdough is known for. Skip it, and your home oven will dry the crust out too fast, leaving it pale and tough instead of deeply caramelized.
The Detailed Sourdough Process: Step by Step
1. Autolyse: Hydrating the Flour
Combine only the flour and water in your mixing bowl. Mix until no dry flour remains, cover, and let it rest 30 to 60 minutes. This step hydrates the flour fully and starts gluten development on its own, which means less manual work for you later.
2. Mixing: Incorporating Starter and Salt
Add your active starter and salt to the rested dough. Wet your hands and squeeze and fold everything together until fully incorporated — about 3 to 4 minutes. It will feel messy and look shaggy and uneven. That's normal, not a sign you've done something wrong.
3. Bulk Fermentation: The Rise and Strength
This is where the dough actually becomes bread dough. At a room temperature of 75-78°F, bulk fermentation generally takes 4 to 6 hours. In a cooler kitchen, expect it to stretch to 7 or 8 hours. Cold kitchens are the number one reason new bakers assume their starter is dead when really the fermentation is just moving slower than a recipe's stated timeline.
4. Stretch and Folds: Developing Gluten
During the first 2 hours of bulk fermentation, perform four sets of stretch and folds, spaced 30 minutes apart. Wet one hand, grab a section of dough, stretch it up, and fold it over itself. Turn the bowl a quarter turn and repeat three more times to finish one set. You'll feel the dough tighten and gain strength with each set — that's gluten developing in real time, not a subtle effect you have to imagine.
After the last set, leave the dough alone. By the end of bulk fermentation it should have grown by roughly 50%, feel jiggly when you shake the bowl, and show small bubbles across the surface.
Shaping Your Loaf: Boule or Batard
Once bulk fermentation is done, turn the dough out onto a lightly floured counter. Shaping builds the surface tension that lets your loaf hold its shape in the oven instead of spreading flat.
- Boule (round loaf): Pull the edges of the dough into the center from all sides. Flip it seam-side down and drag it in tight circles against the counter to build tension across the surface.
- Batard (oval loaf): Pat the dough into a rough rectangle. Fold the top third down to the center, then the bottom third up and over that. Roll it tightly from one end to the other and pinch the seam closed.
Either way, you're aiming for a smooth, taut surface with no tears. Place the shaped dough seam-side up into a well-floured banneton.
Cold Proofing for Flavor and Manageability
Cover the banneton and refrigerate for 12 to 16 hours. This step gets skipped or rushed in a lot of sourdough recipes, but it does two things nothing else can replicate: it deepens the tang as fermentation slows and organic acids build up, and it firms the dough enough to score cleanly and transfer without it collapsing.
Skipping cold proofing won't ruin the loaf, but I've never had a same-day bake taste as complex or cut as cleanly as one that spent the night in the fridge. Cold dough simply holds its shape better under a blade.
Scoring: The Art of the Perfect Crust
Pull the proofed dough from the fridge and invert it onto a piece of parchment while it's still cold. Using a lame or a sharp razor blade, score the surface in one confident motion, about half an inch deep and angled rather than straight down. A single curved slash works for a boule; a straight line down the length works for a batard. This controlled cut gives the loaf a place to expand instead of tearing open randomly during baking.
Don't saw at the dough or hesitate halfway through. A quick, decisive cut is what produces that curled "ear" bakers chase.
Baking Instructions for a Pristine Loaf
Preheat your empty Dutch oven inside the oven at 500°F (260°C) for at least 45 minutes. That long preheat matters — an undercooked pot means weaker oven spring and a duller crust.
Lower the scored loaf, parchment and all, into the hot pot. Cover, drop the oven to 450°F (232°C), and bake covered for 20 minutes.
After 20 minutes, remove the lid and bake uncovered another 20 to 25 minutes, until the crust turns a deep golden-brown with hints of mahogany at the edges.
If you want a broader walkthrough that covers different oven setups and troubleshooting mid-bake, our step-by-step guide to baking sourdough bread goes deeper into that specific stage.
How to Determine Doneness
An instant-read thermometer inserted into the center should read 205-210°F (96-99°C). The crust should feel firm and resistant, not soft, when you press it. Tapping the bottom of the loaf and hearing a hollow sound is a good secondary check if you don't own a thermometer.
Cooling: A Crucial Step for Crumb Perfection
This is the step that quietly ruins more loaves than any mixing or shaping mistake. Sourdough keeps cooking internally as it cools — starches are setting and moisture is redistributing through the crumb. Let the loaf rest on a wire rack for a full 1 to 2 hours before slicing. Cut into it early and you release steam the crumb still needs, leaving you with a dense, faintly wet slice even though the bake itself was perfect.
Troubleshooting Common Sourdough Challenges
- Dense, tight crumb: Usually an underactive starter or a bulk fermentation that ended too early. Feed your starter twice a day for a few days to build vigor before your next attempt.
- Flat, spread-out loaf: Often over-proofing, or dough that wasn't shaped with enough tension. Try cutting bulk fermentation short by 30-60 minutes next time.
- Over-proofed dough: Slack, spreads instead of holding shape, sometimes shows large irregular holes with a gummy band near the crust. Catching it before shaping lets you salvage things — shape tighter than usual and shorten the cold proof.
Sourdough Recipe Variations to Explore
- Whole wheat addition: Swap 100g of bread flour for whole wheat for a nuttier, denser loaf. You'll likely need an extra 10-15g of water since whole wheat absorbs more liquid than white flour.
- Seeded loaf: Mix in 50g of a seed blend — sunflower, flax, sesame — during the initial mix, or press seeds onto the exterior just before scoring for a decorative crust.
- Same-day sourdough: Short on time? Push bulk fermentation to 6-7 hours in a slightly warmer spot around 80°F (27°C), then shape and give it a 2-hour room-temperature proof instead of the overnight cold rest. You'll lose some depth of flavor, but it's a solid backup plan when you can't wait 24 hours for bread.
Once you're comfortable with this base dough, it's worth branching into other shapes built on the same starter and technique — soft sourdough rolls use a similar approach but with enrichments that change the texture completely, and leftover starter doesn't have to go to waste either — sourdough discard pretzel bites are a genuinely good use for it on days you're not baking a full loaf.
Storing Your Sourdough Loaf
Store the finished loaf cut-side down on a wooden cutting board at room temperature for up to 3 days. This keeps the crust crisp far better than sealing it in a plastic bag ever will. For longer storage, slice the whole loaf and freeze it, then pull slices as needed and toast them straight from frozen. Skip the refrigerator entirely — it accelerates staling faster than either room temperature storage or the freezer.
If you're curious how homemade loaves compare nutritionally to what's on grocery shelves, or whether sourdough fits into a weight-conscious diet, that's covered in more detail in our breakdown of sourdough and weight loss.
This recipe rewards repetition more than perfection on the first try. Bake it three or four times, paying attention to how your dough feels at each stage rather than just following the clock, and you'll stop needing the timings altogether. That's really the goal — not a recipe you follow forever, but one that teaches you to bake without one.
Leave a Reply