How to Make a Sourdough Starter From Scratch: A 7-Day Guide
Learning how to make sourdough starter requires nothing more than flour, water, time, and patience — but the details of ratios, timing, and temperature separate a starter that fails from one that reliably leavens bread for years. This guide walks through the exact process, day by day, along with the troubleshooting knowledge most tutorials skip.
A sourdough starter is a live culture of wild yeast and lactic acid bacteria that you cultivate at home by repeatedly feeding a flour-and-water mixture. Once established, it becomes the sole leavening agent for bread, replacing commercial yeast entirely. Building one from scratch typically takes 5 to 10 days.
- Quick Summary: Key Takeaways for Building Your Sourdough Starter
- Understanding Sourdough Starter: What It Is and How It Works
- Essential Ingredients and Equipment for Making Sourdough Starter
- Day-by-Day Feeding Schedule to Build Your Sourdough Starter
- Signs Your Sourdough Starter Is Active and Ready to Bake With
- Common Troubleshooting Issues When Making Sourdough Starter
- Next Steps: Storing and Maintaining Your New Sourdough Starter
- Frequently Asked Questions About Making Sourdough Starter
Quick Summary: Key Takeaways for Building Your Sourdough Starter
- A sourdough starter needs just two ingredients — flour and water — but consistent feeding ratios (typically 1:1:1) and stable warm temperatures (75–80°F) determine success or failure.
- Expect 5 to 10 days before a starter is strong enough to bake with; whole wheat or rye flour speeds up initial fermentation compared to all-purpose flour.
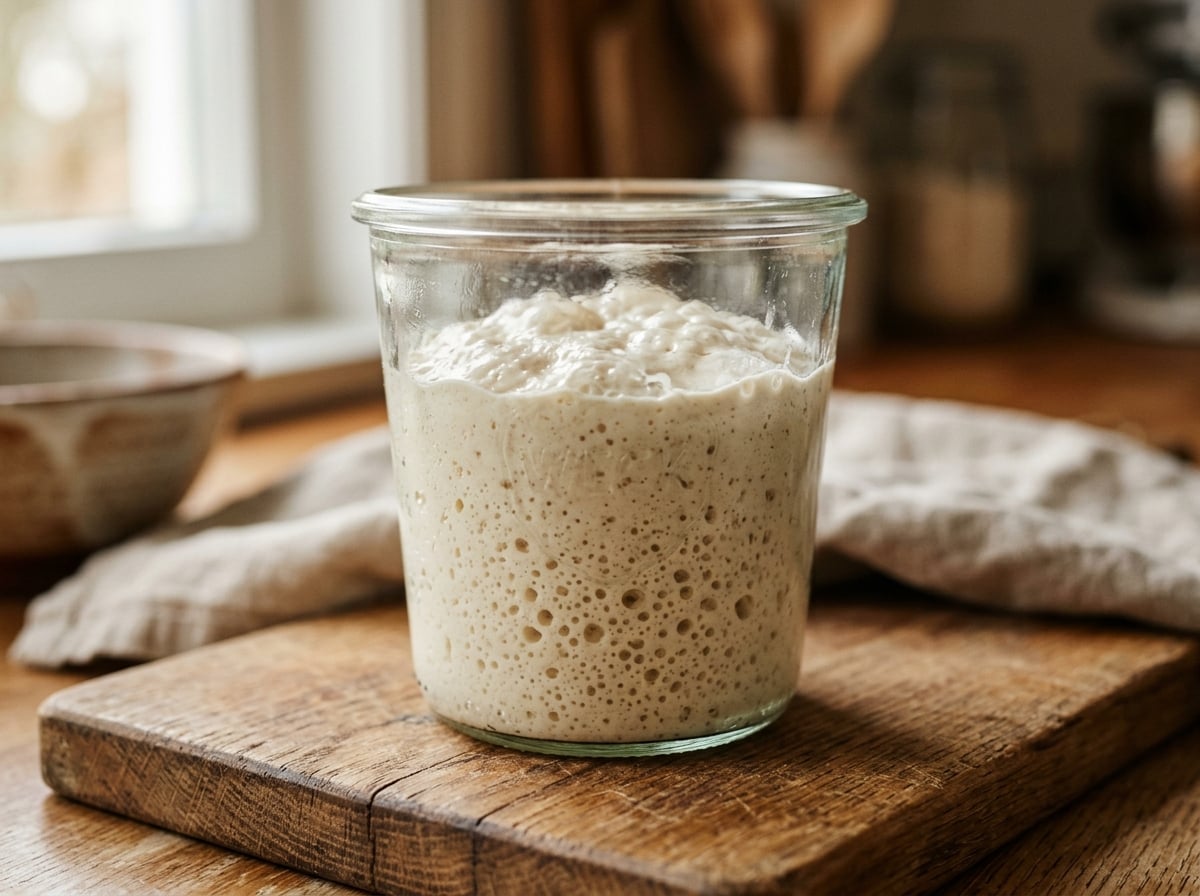
- A ready starter doubles in size within 4–8 hours of feeding and passes the "float test" by floating in water.
- Discarding half the starter at each feeding isn't wasteful ritual — it prevents the mixture from becoming too acidic and diluting the yeast population.
Understanding Sourdough Starter: What It Is and How It Works
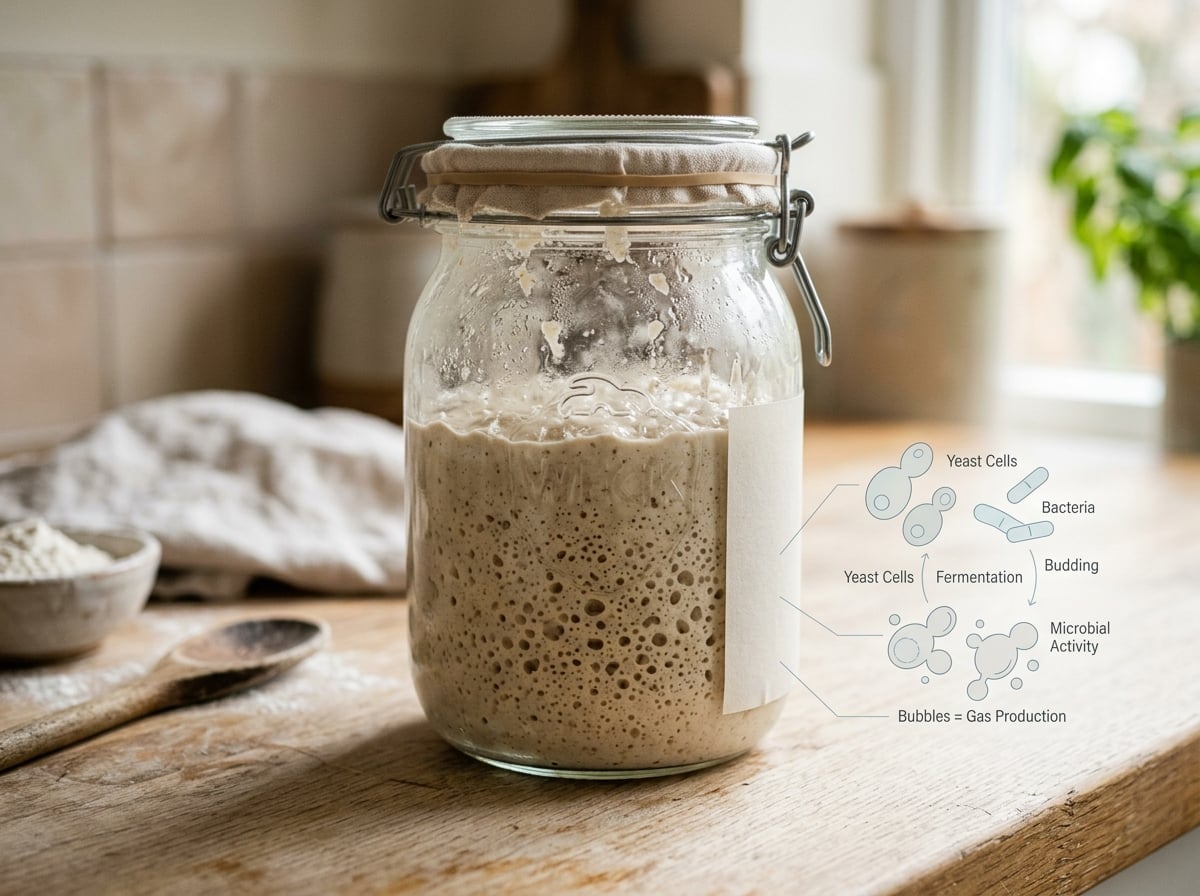
A sourdough starter is a fermented culture of wild yeast (mainly Saccharomyces species) and lactic acid bacteria (primarily Lactobacillus) living symbiotically in a paste of flour and water. The yeast produces carbon dioxide that leavens bread, while the bacteria generate lactic and acetic acid, creating sourdough's characteristic tang. This unique combination is what allows you to bake sourdough bread with its distinctive flavor and texture.
Unlike commercial yeast, which is a single cultivated strain, a starter hosts a diverse microbial community that arrives naturally — from the flour itself, the air, and even your hands. Flour is never sterile; it carries dormant yeast spores and bacteria on the bran and germ. When you add water, you rehydrate them and give them food (starch) to metabolize. Warmth accelerates their activity, which is why kitchen temperature matters more than most beginners realize.
This is also why two starters made in different kitchens taste different. The specific bacterial strains that dominate depend on local environmental factors, flour type, and even regional climate — a phenomenon researchers at institutions like North Carolina State University's Rob Dunn Lab have studied extensively through citizen-science sourdough projects.
Essential Ingredients and Equipment for Making Sourdough Starter
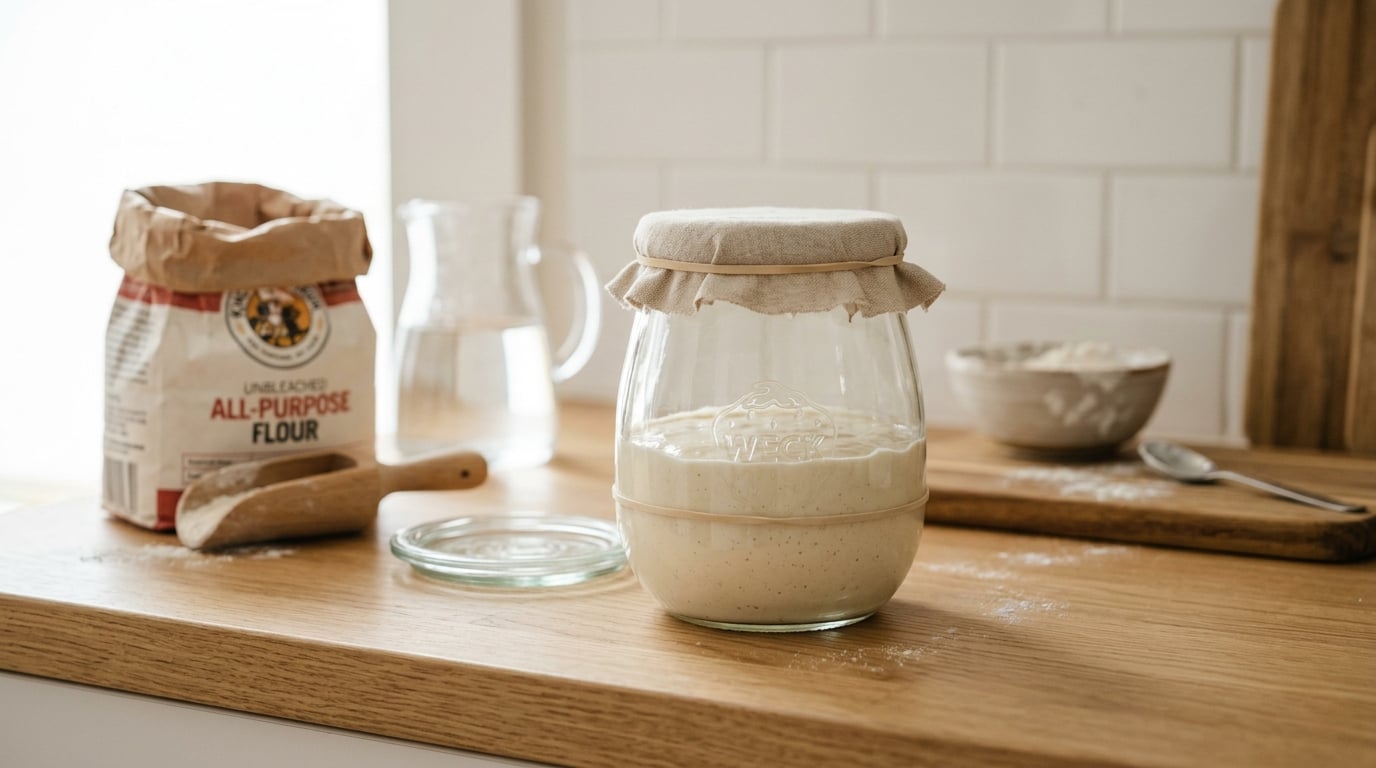
You need only unbleached flour, non-chlorinated water, and a container — but the type of flour and water quality directly affect how quickly fermentation kicks in and how vigorous your starter becomes. Skimping on either is the most common reason first attempts stall when trying to make your own sourdough starter.
Ingredients
- Flour: Whole wheat or rye flour is strongly recommended for the first 2–3 days because the extra bran and germ feed microbes faster than refined all-purpose flour. After day 3, you can transition to all-purpose or bread flour for ongoing feedings. This initial flour choice is crucial for a robust sourdough bread culture.
- Water: Use filtered or dechlorinated tap water. Chlorine and chloramine, common in municipal water supplies, can suppress microbial activity. If you only have tap water, let it sit uncovered for an hour to off-gas chlorine (this does not remove chloramine — filtering is more reliable).
Equipment
- A 1-quart glass jar or plastic container — glass lets you see bubble activity, which matters for judging readiness.
- A kitchen scale — measuring by weight (grams) rather than volume (cups) produces far more consistent results and is the standard used by professional bakers.
- A rubber band or marker to track rise on the outside of the jar.
- A loose-fitting lid or breathable cloth — the culture needs airflow but also protection from dust and fruit flies.
Day-by-Day Feeding Schedule to Build Your Sourdough Starter
Building a starter from scratch follows a consistent pattern: combine equal parts flour and water daily, discard a portion before each feeding, and watch for rising activity by day 3 or 4. Most starters are baking-ready between day 5 and day 10, depending on ambient temperature. Follow these steps to successfully make sourdough starter.
Day 1: The Initial Mix
Mix 50g whole wheat flour with 50g water in your jar. Stir until no dry flour remains — the consistency should resemble thick pancake batter. Cover loosely and leave at room temperature (ideally 75–80°F).
Day 2: First Feeding
You may see minor bubbling or none at all — both are normal. Discard half the mixture, then feed with 50g flour and 50g water. Some bakers switch to a half whole wheat, half all-purpose blend starting here.
Days 3–4: Increased Activity
This is when most starters show visible rise and bubbling, sometimes doubling within hours, then deflating before your next feeding. Continue the same discard-and-feed routine twice daily now (every 12 hours) using a 1:1:1 ratio by weight — equal parts starter, flour, and water.
Days 5–7: Approaching Readiness
Activity should become more predictable: consistent doubling within a 4–8 hour window after feeding, with a domed top and visible bubbles throughout. If you're seeing this reliably, you're close to baking-ready. If not, continue feeding twice daily — some starters, particularly in cooler kitchens, need until day 10 or beyond.
Days 8–10 (if needed): Patience is Key
Cooler environments (below 70°F) or all-purpose-only flour can slow fermentation significantly. Persistence matters more than exact timing here. Keep feeding on schedule; do not extend the interval between feedings even if activity seems weak, since starving the culture at this stage can set progress back.
Signs Your Sourdough Starter Is Active and Ready to Bake With
A starter is ready when it reliably doubles in volume within 4–8 hours of feeding, has a domed or bubbly surface, smells pleasantly sour (not putrid), and passes the float test. All four signs should align — relying on just one, especially smell alone, leads to premature or failed bakes.
The Float Test for Sourdough Starter Readiness
Drop a small spoonful of active starter into a glass of room-temperature water. If it floats, sufficient gas has been produced to trap air and it's likely ready to leaven bread. If it sinks, give it another feeding or two before testing again. This test is a useful checkpoint but not infallible — a starter can float and still lack the strength for a full loaf, so pair it with the doubling test.
Visual and Aromatic Cues for an Active Sourdough Starter
| Sign | Ready Starter | Not Yet Ready |
|---|---|---|
| Rise after feeding | Doubles or triples in 4–8 hrs | Little to no rise after 8+ hrs |
| Surface texture | Bubbly, domed | Flat, no bubbles |
| Smell | Tangy, yeasty, slightly sour | Sharp acetone or no smell at all |
| Float test | Floats | Sinks immediately |
| Color | Off-white to tan, consistent | Gray liquid layer ("hooch") pooling on top |
Common Troubleshooting Issues When Making Sourdough Starter
Most sourdough starter problems trace back to temperature, feeding ratio, or flour choice — not a failed culture. Very few starters are actually "dead"; most just need adjusted feeding frequency or a warmer spot. Knowing these can help you successfully make a sourdough starter with yeast.
No Activity by Day 4
This is usually a temperature issue. Move the jar somewhere warmer — on top of the refrigerator, inside an oven with just the light on, or near (not on) a heating vent. Below 70°F, fermentation slows dramatically; above 90°F, it can stall from heat stress on the yeast.
Liquid Layer on Top ("Hooch")
A grayish liquid pooling on the surface signals the starter is hungry and has run out of food faster than your feeding schedule accounts for. Pour it off (or stir it in for a tangier flavor) and feed immediately, then shift to feeding every 12 hours instead of 24.
Pink, Orange, or Fuzzy Mold
Any pink or orange discoloration, or visible fuzzy mold, means the batch is contaminated and must be discarded entirely — this is not salvageable by removing the affected portion. Start over with a clean jar, thoroughly washed with hot soapy water, since mold spores can persist on container surfaces.
Starter Rises Then Crashes Too Fast
If your starter peaks and deflates in under 3 hours, it's likely overfed relative to its yeast population or fermenting too fast due to high heat. Reduce ambient temperature slightly or increase the flour-to-starter ratio (try 1:2:2 instead of 1:1:1) to slow things down and build strength.
Plateau Around Day 5–6
Some starters show early bubbling from days 2–3 (often wild bacteria unrelated to true leavening yeast), then seem to stall. This is normal microbial succession — the initial bacteria die back as yeast populations establish dominance. Continue regular feedings; activity typically resumes by day 7–8.
Next Steps: Storing and Maintaining Your New Sourdough Starter
Once your starter is reliably doubling and passing the float test, you can maintain it either at room temperature with daily feedings or in the refrigerator with weekly feedings, depending on how often you bake. Refrigeration is the better default for most home bakers who bake less than twice a week.
Room Temperature Maintenance
Feed once every 24 hours using a 1:1:1 ratio. This keeps the culture at peak activity, ideal if you bake several times a week. Discard and feed even on days you don't plan to bake — skipping feedings at room temperature causes rapid over-acidification.
Refrigerator Maintenance
Feed once weekly. Cold slows microbial activity significantly, so a once-a-week discard-and-feed cycle is sufficient to keep the culture alive. Before baking, pull it out, feed it 1–2 times at room temperature over 24 hours to reactivate full strength, then use it once it doubles reliably again.
Long-Term Backup for Your Sourdough Starter
Dry a small portion of mature starter on parchment paper, crumble it once fully dried, and store it in an airtight container as insurance against contamination or accidental neglect. For deeper guidance on hydration ratios and adapting starters to different flour types, consider our guide: Sourdough Starter: The Complete Guide to Understanding and Using It.
Frequently Asked Questions About Making Sourdough Starter
How long does it take to make a sourdough starter from scratch?
Most starters take 5 to 10 days to become reliably active enough for baking, depending on ambient temperature and flour type. Warmer kitchens (75–80°F) and whole grain flours speed the process; cooler environments can push it past two weeks.
Can I use tap water to make a sourdough starter?
Filtered or dechlorinated water is preferable, since chlorine and chloramine can inhibit microbial growth. Letting tap water sit uncovered for an hour removes chlorine but not chloramine, so filtered water remains the safer default choice.
Why does my sourdough starter smell like acetone or nail polish remover?
A sharp, chemical smell typically means the starter is hungry and producing excess alcohol as a byproduct of fermentation. Discard a larger portion and feed immediately; increasing feeding frequency usually resolves the smell within one to two cycles.
Do I need to discard starter every time I feed it?
Yes, discarding prevents the culture from growing too large and too acidic to sustain healthy yeast activity. Skipping discards leads to a sluggish, overly sour starter that struggles to leaven bread effectively.
Can I make a sourdough starter with only all-purpose flour?
Yes, but expect a slower start, since all-purpose flour lacks the extra bran and nutrients that speed early fermentation. Starting with whole wheat or rye for the first few days, then transitioning to all-purpose, produces faster and more reliable results.
How do I know if my sourdough starter has died?
A starter has died only if it develops mold, turns pink or orange, or smells rotten rather than sour; simple inactivity almost never means it's dead. Resuming consistent feedings at a warmer temperature revives the vast majority of sluggish starters within a few days.
Leave a Reply