How to Make Sourdough Bread: The Complete 2026 Guide
Making sourdough bread means combining flour, water, and salt with a live sourdough starter, then letting wild yeast and bacteria slowly ferment and leaven the dough before baking it at high heat, usually in a Dutch oven. The whole process takes roughly 18 to 24 hours from mixing to cooling, most of which is hands-off waiting rather than active work. There's no commercial yeast involved — the rise comes entirely from your starter's microbial activity, which is also what gives sourdough its characteristic tang, chewy crumb, and crackly crust.
The Process, From Start to Finish
If you've never baked sourdough before, the timeline can feel intimidating on paper but it's really just four phases strung together over a day and a half. You feed your starter the night before or morning of, mix your dough, let it bulk ferment for several hours, shape it, let it proof (often overnight in the fridge), and bake it straight from cold.
I've made this loaf more weekends than I can count, and the thing that trips up beginners isn't technique — it's patience. Sourdough runs on fermentation time, not a kitchen timer. A dough that's ready in 4 hours on a warm July afternoon might need 8 hours in a chilly December kitchen. Temperature, not the clock, is your real guide.
Here's the rough arc:
- Feed your starter 4–12 hours before mixing so it's active and bubbly at peak rise.
- Mix flour, water, salt, and starter into a shaggy dough (autolyse optional but recommended).
- Bulk ferment 4–8 hours at room temperature, folding the dough periodically.
- Shape the dough into a tight boule or batard.
- Cold proof overnight (8–16 hours) in the refrigerator.
- Bake in a preheated Dutch oven at 450–500°F.
That's the skeleton. Now let's get into what you actually need and how each step plays out.
Tools and Ingredients You Need Before You Begin
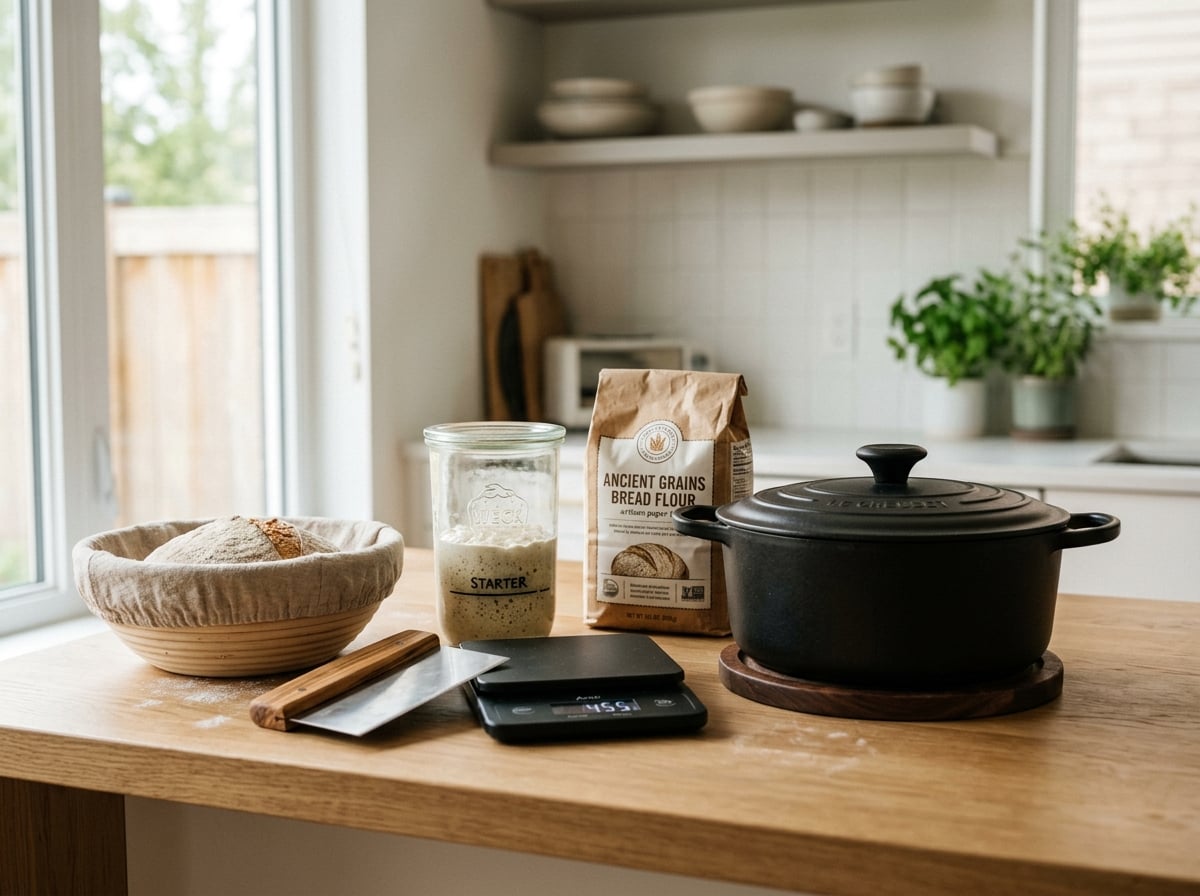
You don't need fancy equipment to make good sourdough, but a few items make the difference between frustration and a loaf you're proud of.
Ingredients:
- An active, bubbly sourdough starter (100% hydration is standard)
- Bread flour (12–14% protein) — all-purpose works but gives a slightly denser crumb
- Filtered or dechlorinated water, lukewarm (around 80–85°F)
- Fine sea salt, non-iodized
Equipment:
- A kitchen scale — sourdough is a weight-based recipe, not a cup-based one, and volume measurements will wreck your hydration ratios
- A large mixing bowl or dough bin
- A bench scraper (plastic and metal versions both help, for different jobs)
- A banneton or a bowl lined with a floured kitchen towel, for proofing
- A Dutch oven, combo cooker, or a baking stone with a steam setup
- A lame or sharp razor blade for scoring
- A digital probe thermometer (optional but genuinely useful — finished bread should hit 205–210°F internally)
A standard starting formula looks like this: 500g bread flour, 350g water (70% hydration), 100g active starter, 10g salt. That ratio produces a manageable, moderately wet dough that's forgiving for first attempts. Once you're comfortable, you can push hydration up to 75–80% for a more open, airy crumb — but wetter dough is harder to shape, so don't start there.
Step-by-Step: Mixing Through Baking
Mixing and Autolyse
Combine the flour and water first, without the starter or salt, and let it rest 30–60 minutes. This is the autolyse — it lets the flour fully hydrate and the gluten begin developing on its own, which means less kneading for you later. After the rest, add the starter and mix it in by hand, squeezing and folding until incorporated. Let it sit 20–30 minutes, then add the salt dissolved in a splash of water and mix again until the dough feels cohesive.
Bulk Fermentation
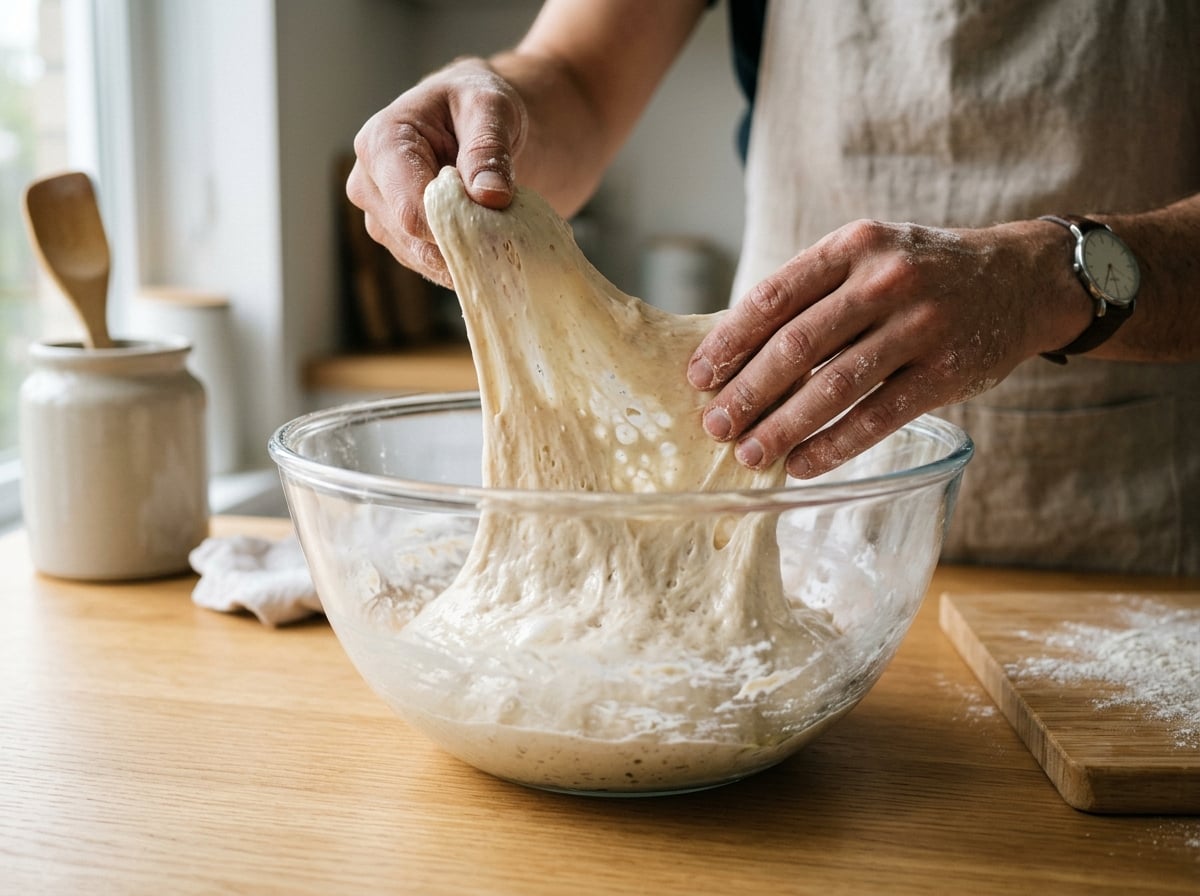
This is where most of the flavor and structure development happens, and it's the step beginners most often misjudge. Rather than kneading, you'll do a series of stretch-and-folds: wet your hand, grab one side of the dough, stretch it up, and fold it over itself, rotating the bowl a quarter turn each time. Four folds make one set. Do a set every 30–45 minutes for the first two to three hours of bulk fermentation.
Bulk fermentation typically runs 4–6 hours at 75–78°F room temperature, though it can stretch to 8 hours if your kitchen runs cooler. You're looking for the dough to grow by 30–50% in volume, feel noticeably jiggly and lighter, and show some bubbles on the surface. Don't go strictly by time — a dough fermented in a 65°F kitchen in February behaves nothing like one in a 80°F kitchen in July.
Shaping
Turn the dough out onto a lightly floured surface. Shape it into a round by dragging it toward you in a circular motion to build surface tension, or shape a batard by folding the sides in and rolling it into a log. The goal is a tight skin on the outside without tearing it. Place the shaped dough seam-side up into your floured banneton.
Proofing
Cold retard the shaped dough in the refrigerator for 8–16 hours. This isn't just about convenience — cold proofing slows fermentation enough to develop deeper, more complex sour flavor while firming the dough so it holds its shape and scores cleanly. Skipping the cold proof and baking same-day is possible, but you'll get a milder flavor and a slacker dough that's harder to score.
Baking
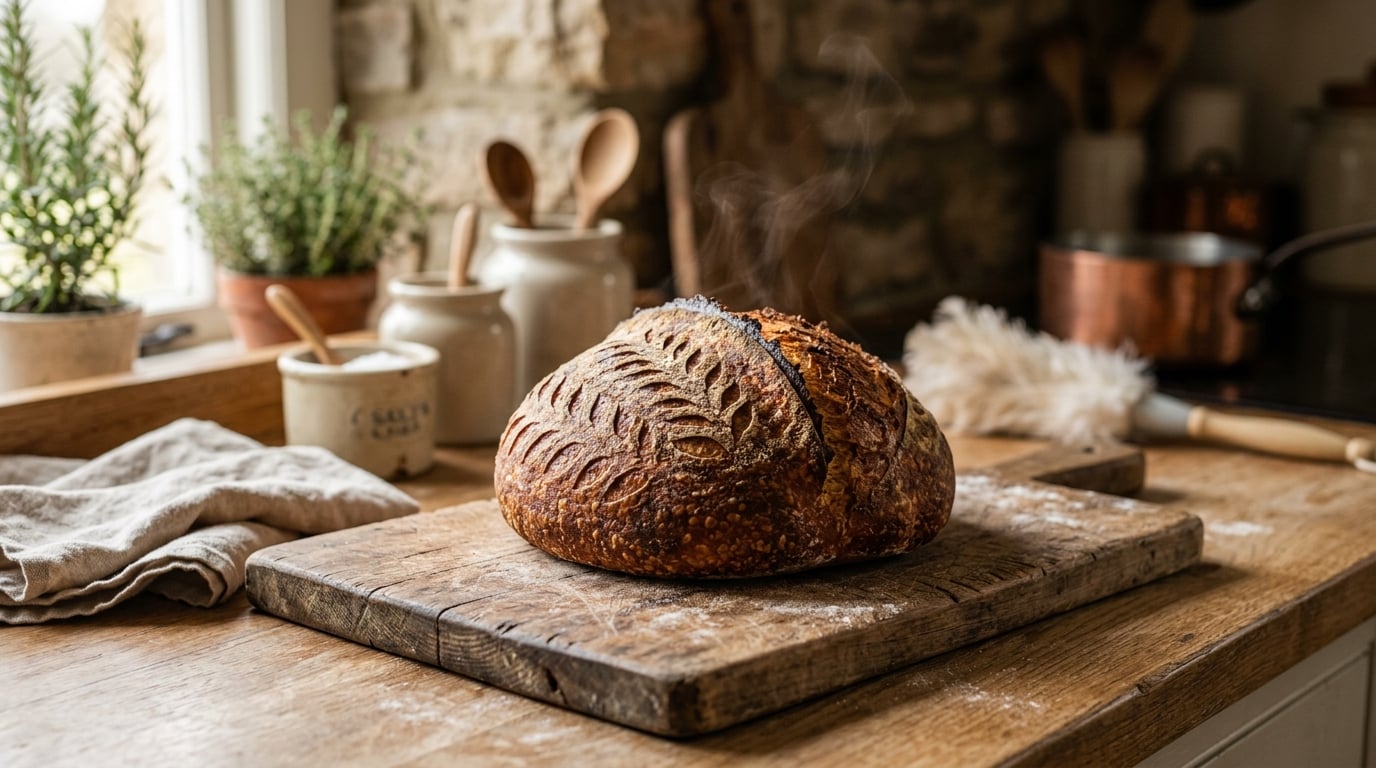
Preheat your Dutch oven, empty, inside the oven at 500°F for at least 45 minutes. Turn the cold dough out onto parchment, score it with a confident, quick slash about half an inch deep, and lower it into the hot pot. Bake covered for 20 minutes, then uncovered at 450°F for another 20–25 minutes until the crust is deep mahogany brown. Let it cool completely — a minimum of one hour — before cutting. Slicing too early lets steam escape and leaves you with a gummy crumb, even if the bake itself was perfect.
Common Troubleshooting Issues and Fixes
| Problem | Likely Cause | Fix |
|---|---|---|
| Dense, gummy crumb | Underfermented dough or cut too soon after baking | Extend bulk fermentation; wait a full hour before slicing |
| Flat, spread-out loaf | Overproofed dough or weak shaping tension | Shorten bulk fermentation time; build more surface tension when shaping |
| No oven spring | Starter not active enough, or oven not hot enough | Feed starter until it doubles in 4–6 hours before using; preheat Dutch oven longer |
| Sour, overly tangy flavor | Extended cold proof or old starter | Shorten the cold retard to 8–10 hours |
| Dough too sticky to shape | Hydration too high for your skill level | Drop to 65–68% hydration until you're more comfortable |
| Pale crust | Oven temperature too low or insufficient steam | Increase to 500°F for the covered portion; ensure lid fits tightly |
The single most common first-timer mistake is overproofing during bulk fermentation because they're following a strict time window instead of watching the dough. Learn to read the dough's volume and texture instead of the clock, and most of your problems disappear.
How This Connects to Starter Care and Recipe Variations
None of this works without a healthy starter, and starter maintenance is really a separate skill you build alongside baking. A starter kept at room temperature needs feeding once or twice daily with equal parts flour and water by weight; one kept in the fridge can go a week between feedings, though it'll need a day or two of active feeding before it's baking-ready again.
Once the basic white sourdough loaf feels routine, there's a lot of room to experiment. Swapping 10–20% of the bread flour for whole wheat or rye adds flavor complexity and speeds up fermentation since those flours have more available nutrients for the microbes. Adding mix-ins like roasted garlic, olives, or dried fruit works best after the bulk fermentation's first hour, folded in during a stretch-and-fold. Enriched variations — adding butter, milk, or eggs — turn the same basic process into sourdough sandwich bread or dinner rolls, though they ferment more slowly because fat and sugar slow yeast activity.
FAQs
How long does it take to make sourdough bread from start to finish? Count on 18–24 hours total, including starter feeding, bulk fermentation, cold proofing, and baking — but only about an hour of that is hands-on work. If you’re wondering is the effort of making sourdough bread truly worth it, consider the satisfaction of creating a delicious, wholesome loaf from scratch.
Can I make sourdough without a starter? No. The starter is what leavens the bread; without wild yeast and bacteria, you'd need commercial yeast, which makes it a different kind of bread entirely, not true sourdough.
Why is my sourdough bread so dense? Density almost always traces back to underfermentation, a sluggish starter, or cutting into the loaf before it's fully cooled.
Do I need a Dutch oven to bake sourdough? It's the easiest method for home bakers because it traps steam, but a baking stone with a pan of water or ice cubes underneath can produce similar results.
How do I know my starter is ready to use? It should double in size within 4–6 hours of feeding, look bubbly throughout, and pass the float test — a spoonful dropped in water should float rather than sink.
Leave a Reply