
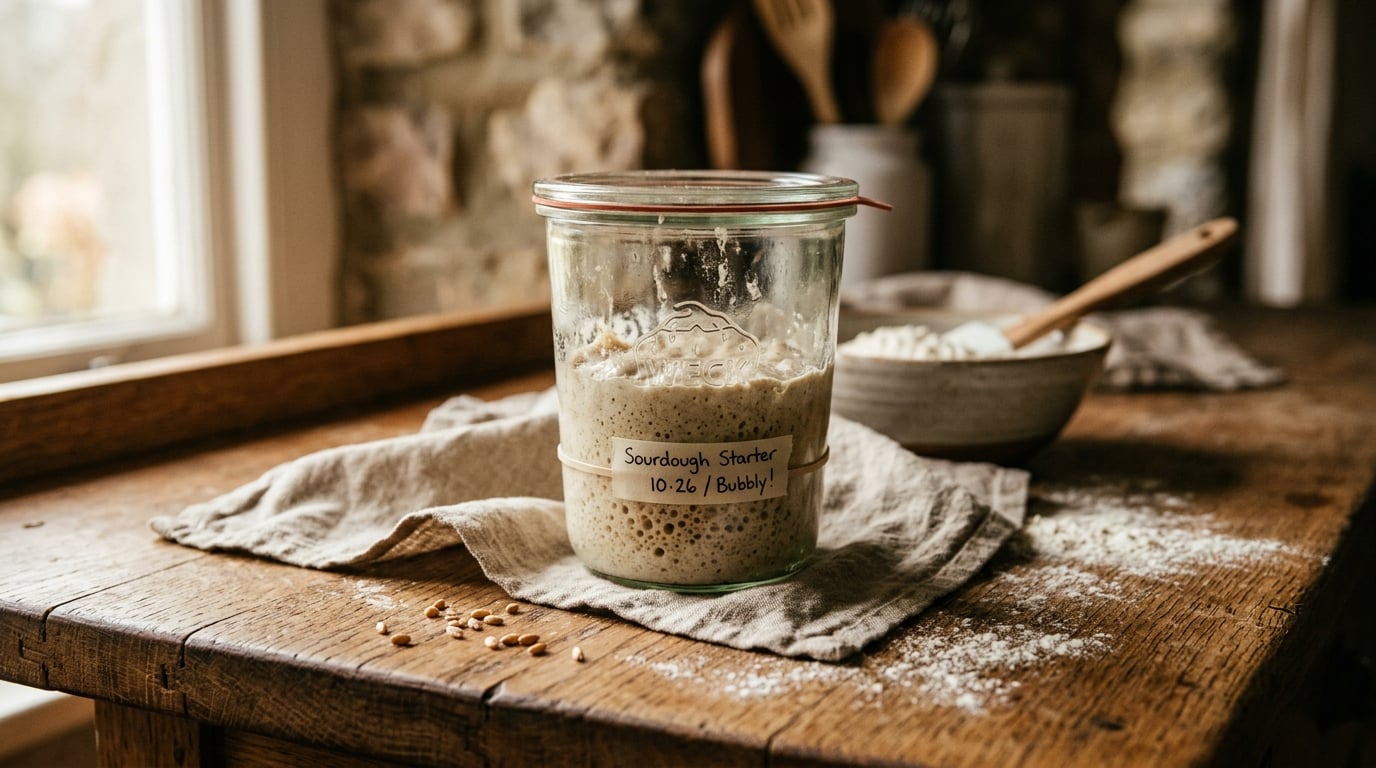
Sourdough Starter: Your Complete Guide to Understanding and Using It
A sourdough starter is a living culture of wild yeast and bacteria that you feed with flour and water until it becomes strong enough to leaven bread without any commercial yeast. That’s the short answer. The longer answer — the one that actually matters if you want bread with a good rise, a pleasant tang, and a crust that shatters when you cut into it — takes a bit more explaining. I’ve kept starters going for years at a time, killed a few through neglect, and revived ones that looked completely hopeless. What follows is everything I wish someone had told me before I started my first sourdough starter.
- Understanding What a Sourdough Starter Is and How It Functions
- Essential Ingredients and Equipment for Your Sourdough Starter
- Sourdough Starter Feeding Schedules and Basic Maintenance
- Identifying a Healthy vs. Unhealthy Sourdough Starter
- Storing, Reviving, and Troubleshooting Common Sourdough Starter Issues
- Connecting Your Sourdough Starter to Baking Exceptional Sourdough Bread
Understanding What a Sourdough Starter Is and How It Functions
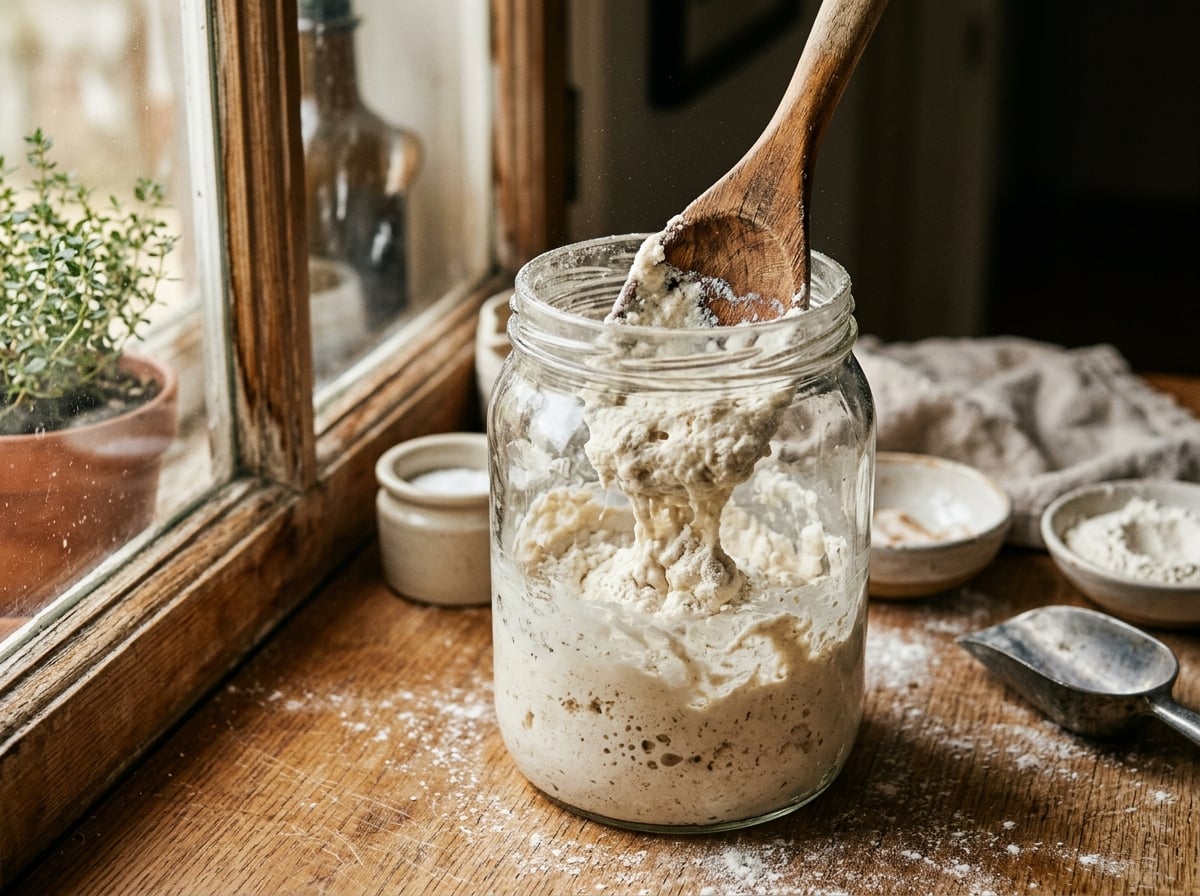
Flour and water, left alone at room temperature, will eventually attract wild yeast and lactic acid bacteria that live on the grain itself and float around in your kitchen air. Within a few days, this mixture starts bubbling. That’s fermentation: the yeast eats the sugars in the flour and produces carbon dioxide and alcohol, while the bacteria produce lactic and acetic acid. The gas gets trapped in the gluten network and makes the dough rise. The acids give sourdough its characteristic flavor — tangy, sometimes sharp, sometimes almost yogurt-like depending on how you maintain it.
This is fundamentally different from a packet of instant yeast, which contains a single cultivated strain (usually *Saccharomyces cerevisiae*) bred for speed and consistency. A sourdough starter is a small ecosystem — typically dominated by yeasts like *Saccharomyces exiguus* or *Candida humilis*, alongside lactobacilli species that vary by region and even by household. That’s why a starter from San Francisco doesn’t taste identical to one from your own kitchen, even if you follow the exact same feeding ratio. The microbial population in your flour, your tap water, and your countertop all leave a signature.
Once established, a sourdough starter is self-sustaining as long as you keep feeding it. It’s not a one-time ferment you use and discard — it’s more like a pet you have to feed regularly, except it doesn’t mind being ignored in the fridge for a week or two.
Essential Ingredients and Equipment for Your Sourdough Starter
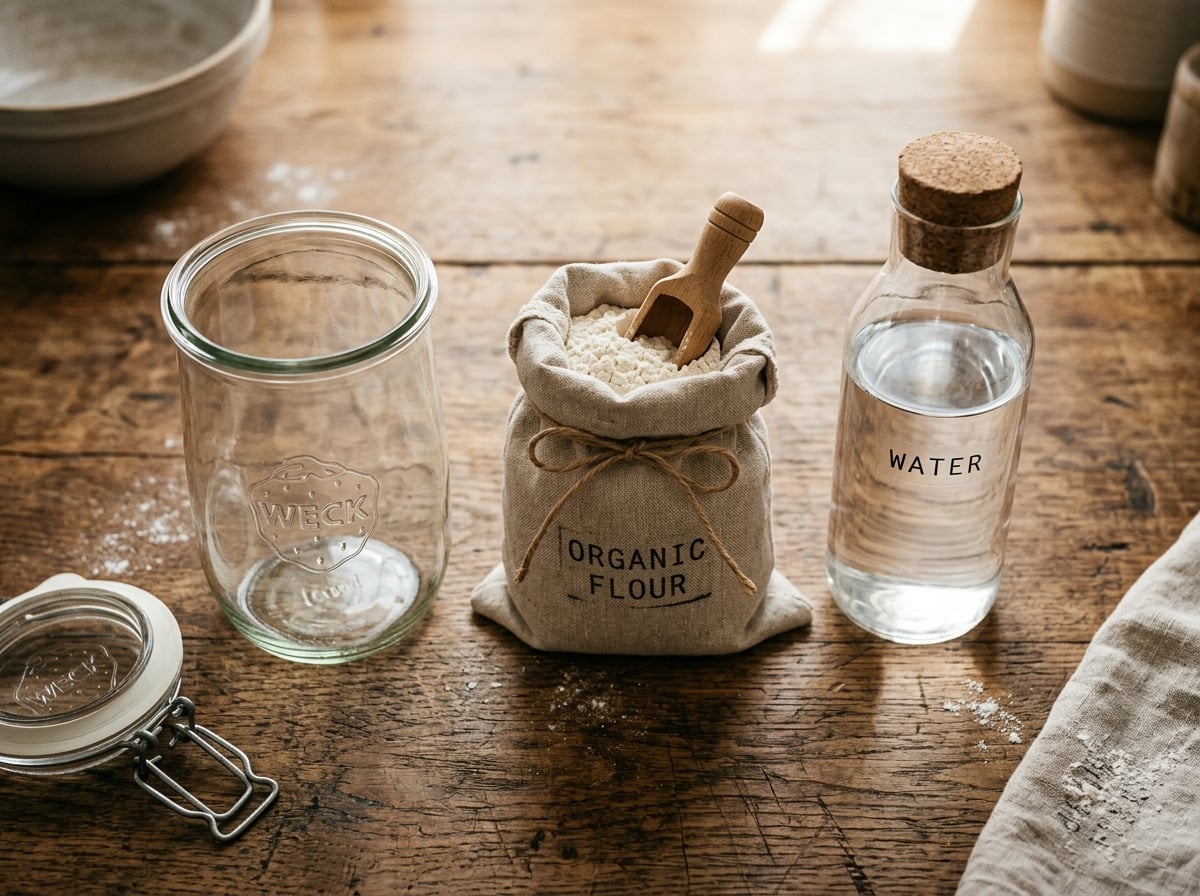
You need almost nothing to start one, which is part of the appeal.
Flour Selection for Your Sourdough Starter
Whole grain flours work best for getting a sourdough starter going because they carry more wild yeast and more nutrients than refined white flour. I always recommend beginning with whole wheat or rye for the first week, then transitioning to all-purpose or bread flour for ongoing maintenance if you want a milder flavor. Rye in particular tends to jump-start fermentation faster than wheat — I’ve had rye starters show bubbles within 24 hours when wheat-only versions took three days.
Water Quality for Sourdough Starter Success
Chlorinated tap water can slow fermentation because chlorine is, after all, designed to kill microorganisms. If your tap water smells strongly of chlorine, let it sit out uncovered for an hour before using it, or use filtered water instead. You don’t need bottled spring water — that’s overkill.
Choosing the Right Container for Your Sourdough Starter
A wide-mouth glass jar, roughly 1-quart size, is ideal. Glass lets you see the bubbles and track rise. Avoid sealing it airtight; you want gas to escape, so a loose lid, a coffee filter secured with a rubber band, or a jar with a fermentation lid works fine.
Why a Kitchen Scale is Crucial for Sourdough Starter
This is the one piece of equipment I consider non-negotiable. Sourdough maintenance is done by weight ratios, not cups and tablespoons, because flour compacts unpredictably and water measured by volume is inconsistent. A basic digital kitchen scale that reads in grams costs under $15 and will save you endless frustration with your sourdough starter.
Additional Tools for Sourdough Starter Management
A rubber spatula and a marker or rubber band are also helpful. You’ll want to scrape down the sides of the jar and mark the sourdough starter’s level after each feeding so you can actually see how much it’s rising.
That’s genuinely it. No special starter kits, no commercial cultures required, though you can buy a dehydrated sourdough starter culture online if you want to skip the week-long creation process — King Arthur Baking sells one that’s been maintained since 1790, which is a fun bit of continuity if that appeals to you. For a comprehensive guide on choosing or making your own, check out our article on the best sourdough starter options.
Sourdough Starter Feeding Schedules and Basic Maintenance
Making your own sourdough starter from scratch takes 5 to 10 days, sometimes longer in a cold kitchen. The basic process: combine equal weights of flour and water (say, 50g each), stir well, and let it sit covered loosely at room temperature. Discard about half the mixture daily and feed it again with fresh flour and water. The discarding matters — it keeps the population from becoming too acidic and food-starved, and it keeps the volume manageable.
By day 3 or 4, you’ll usually see bubbles and a slight rise. By day 5 to 7, if things are going well, the sourdough starter will roughly double in size within 4 to 8 hours of feeding. That’s your signal it’s ready to bake with, though many bakers wait until it’s been reliably doubling for at least three consecutive days before trusting it in a loaf.
Once established, sourdough starter maintenance depends entirely on your baking frequency:
- Baking daily or every other day: Keep your sourdough starter at room temperature and feed once every 12 to 24 hours at a 1:1:1 ratio (equal parts starter, flour, water by weight).
- Baking once or twice a week: Feed your sourdough starter, let it peak, then refrigerate. Pull it out and feed it again a day before you plan to bake.
- Baking rarely: Refrigerate and feed your sourdough starter once every 1 to 2 weeks. Some experienced bakers stretch this to a month, though I don’t recommend it for beginners since a neglected starter is harder to read.
A common ratio you’ll see in recipes is 1:5:5 or even 1:10:10 (starter to flour to water) for bakers who want a milder, less frequently-fed starter that still stays healthy over longer stretches between feedings. Lower ratios like 1:1:1 produce faster, more sour, more active sourdough starters. There’s no single “correct” ratio — it depends on your schedule and flavor preference, and I’d encourage new bakers to experiment rather than treat any one number as gospel.
Temperature matters more than most beginners realize. A sourdough starter at 68°F (20°C) will take noticeably longer to rise than one at 78°F (25.5°C). In winter, I keep mine near the stove or inside the oven with just the light on, which nudges the temperature up a few degrees without cooking anything.
Identifying a Healthy vs. Unhealthy Sourdough Starter
A healthy sourdough starter smells pleasantly tangy — think yogurt, or ripe fruit, sometimes with a beery or slightly vinegary edge. It should roughly double in volume within 4 to 8 hours of feeding at room temperature, and you should see plenty of bubbles both on the surface and throughout the body when you look at it from the side of the jar. Texture should be stretchy and a little stringy when you dip a spoon in.
Liquid pooling on top — often gray or brown — is called “hooch.” It’s alcohol produced by the yeast when the sourdough starter is hungry. It’s not a sign of failure; it just means it’s time to feed. You can pour it off or stir it back in; either is fine, though pouring it off gives a slightly milder flavor.
Warning signs that something’s actually wrong with your sourdough starter:
- Pink, orange, or fuzzy mold spots: This is the one non-negotiable red flag. Any mold means the whole thing goes in the trash — you cannot salvage around it. This is genuinely rare if you’re feeding regularly, but it happens if a sourdough starter sits neglected for a month or more in a warm spot.
- A smell like nail polish remover or acetone: This usually just means your sourdough starter is very hungry and needs feeding immediately and possibly more often. It’s not spoiled, just stressed.
- No activity at all after 10-plus days of consistent feeding: This suggests your environment is too cold, your flour lacks enough wild yeast (over-processed, heavily bleached flours are worse for this), or your water is killing off the culture.
Storing, Reviving, and Troubleshooting Common Sourdough Starter Issues
The refrigerator is your friend for anything beyond a daily baking habit. Cold slows fermentation dramatically, letting you stretch feedings from once a day to once every one to two weeks. Store your sourdough starter in a jar with a loose-fitting lid, not sealed airtight — gas still needs somewhere to go.
If you’re traveling or simply want an insurance policy, dry some sourdough starter on parchment paper, let it fully dehydrate, then crumble it into flakes and store in an airtight bag in the freezer. Rehydrated with equal parts water, it’ll usually bounce back within a couple of feedings.
Reviving a neglected sourdough starter is almost always possible unless mold has appeared. I’ve brought back starters that sat forgotten in the back of a fridge for two months, gray hooch pooled an inch deep on top. The process: pour off the liquid, discard all but about a tablespoon of the sourdough starter, and feed it small amounts twice a day — say, 10g starter to 30g flour and 30g water — for two to three days straight. Room temperature, not the fridge, during this recovery period. Activity usually returns within 48 hours.
Common troubleshooting scenarios for your sourdough starter:
- Starter rises but takes 12-plus hours to double: Increase feeding frequency or move it somewhere warmer. Sluggish rise time is almost always temperature or hunger-related for a sourdough starter.
- Starter smells like acetone constantly: You’re underfeeding relative to its appetite. Either feed more often or increase the flour-to-starter ratio at each feeding.
- Starter never gets bubbly, just flat and wet: Try switching to a whole grain flour, even temporarily, since whole grains carry more of the wild yeast and bacteria the culture needs to establish itself.
- Starter separates with a layer of watery liquid every single day: It’s hungry faster than your schedule accounts for — shorten the interval between feedings.
Connecting Your Sourdough Starter to Baking Exceptional Sourdough Bread
None of this maintenance is an academic exercise — it exists entirely to produce a sourdough starter that’s active enough to leaven bread properly. The single biggest mistake I see new bakers make is using a sourdough starter straight out of the fridge, unfed, in a dough recipe. It might have enough residual yeast activity to produce something, but it won’t be a good loaf — dense crumb, minimal oven spring, flat flavor.
The float test is the simplest way to check readiness: drop a small spoonful of sourdough starter into a glass of room-temperature water. If it floats, there’s enough gas trapped inside to indicate good leavening power, and you’re clear to mix your dough. If it sinks, give it more time or another feeding.
Timing your feed to your bake matters enormously. Most recipes call for using sourdough starter at or near its peak — the point of maximum rise, just before it begins to deflate and turn slightly domed-then-concave on top. Using it too early means underdeveloped yeast activity; too late, and the acidity has climbed to a point where it can actually weaken the gluten structure in your dough, leading to a slack, hard-to-shape loaf.
The amount of sourdough starter you use relative to your flour also shapes the final bread. A recipe using 20% starter (by weight of total flour) will ferment faster and taste milder than one using just 10%, which extends fermentation time but often deepens flavor complexity — this is why many artisan bakers favor long, cold overnight fermentation with a smaller percentage of starter rather than rushing things with a large inoculation.
Get the sourdough starter right, and the bread genuinely takes care of a lot of itself. It’s the one ingredient in the entire process you can’t buy off a shelf — you have to grow it, and once you have, it rewards you indefinitely.
Leave a Reply