
Feeding Your Sourdough Starter: The Complete Guide
To feed sourdough starter, you’ll typically discard all but 20-30 grams of the existing culture, then mix in equal or greater weights of fresh flour and water. Common ratios include 1:5:5 (starter:flour:water by weight) for counter storage with less frequent feeding, or 1:1:1 for a faster, more frequent schedule. You’ll generally feed once or twice daily if kept at room temperature, or about once a week if refrigerated. The right ratio and timing are crucial to keeping the wild yeast and beneficial bacteria thriving without being overwhelmed by acid, which can cause starters to stall, separate, or develop an unpleasant nail polish remover smell. For a detailed breakdown of these elements, refer to our comprehensive guide on sourdough starter recipe and feeding schedule.
- Why Sourdough Starter Feeding Ratios and Timing Are Critical for Health
- Step-by-Step Guide to Feeding Sourdough Starter with Measurements
- Adjusting Sourdough Starter Feeding Frequency for Fridge vs. Counter Storage
- Signs Your Sourdough Starter Needs Feeding vs. Is Overfed
- Troubleshooting Sluggish or Hyperactive Sourdough Starters
- Sample Weekly Sourdough Starter Feeding Schedule for Beginners
Why Sourdough Starter Feeding Ratios and Timing Are Critical for Health
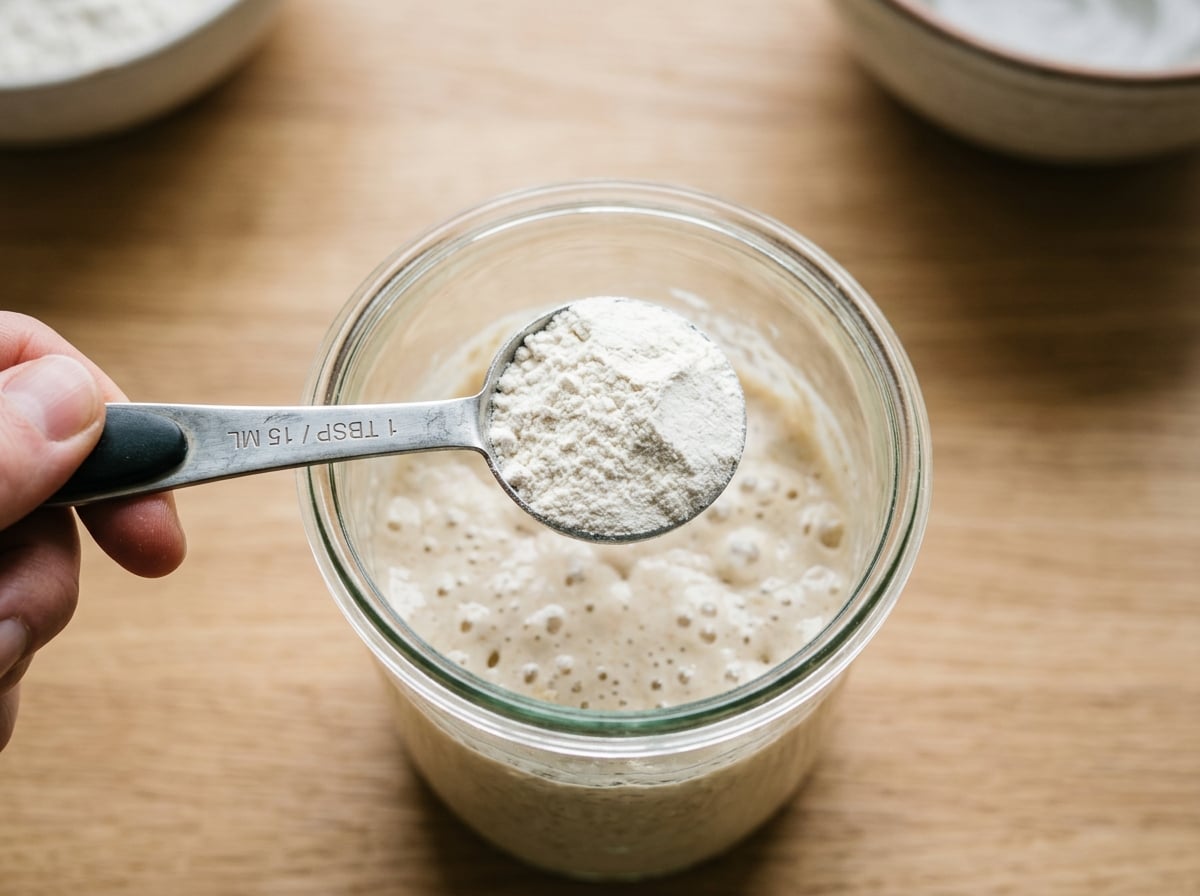
A sourdough starter is a dynamic ecosystem of wild yeast and lactic acid bacteria. Both these microorganisms consume the simple sugars released when flour’s starches break down. If you feed too little flour relative to the starter’s population, they quickly deplete their food supply, leading to an overproduction of acid and alcohol. Conversely, feeding too much water with too little flour dilutes the food source, resulting in a soupy mixture that yeast struggles to colonize effectively.
Your chosen ratio—starter to flour to water—fundamentally dictates the pace of fermentation. A 1:1:1 ratio (by weight) provides a rich, concentrated food supply for the microbes relative to their numbers. This means they consume it rapidly, often reaching peak activity within 4 to 6 hours at around 75°F (24°C). A leaner ratio, such as 1:5:5 or 1:10:10, distributes the same microbial population across a significantly larger food supply, extending peak activity to 8, 12, or even 24 hours. Neither ratio is universally "correct"; they are tools to be used strategically. Bakers who prefer to feed once a day and still utilize their starter at its peak often opt for ratios of 1:5:5 or higher. Those aiming to revive a stiff or sluggish starter frequently revert to a 1:1:1 ratio to quickly rebuild the microbial population.
Timing is equally vital because acid accumulation is a continuous process. The lactic and acetic acids produced by the bacteria not only contribute to your bread’s flavor but, beyond a certain concentration, can inhibit yeast activity and even damage the gluten-forming proteins in the dough. A starter neglected for too long rarely dies, but it will become weak, excessively sour, and unreliable for leavening. The key is to align your sourdough starter feeding ratio and schedule with the realistic interval between feedings.
Step-by-Step Guide to Feeding Sourdough Starter with Measurements
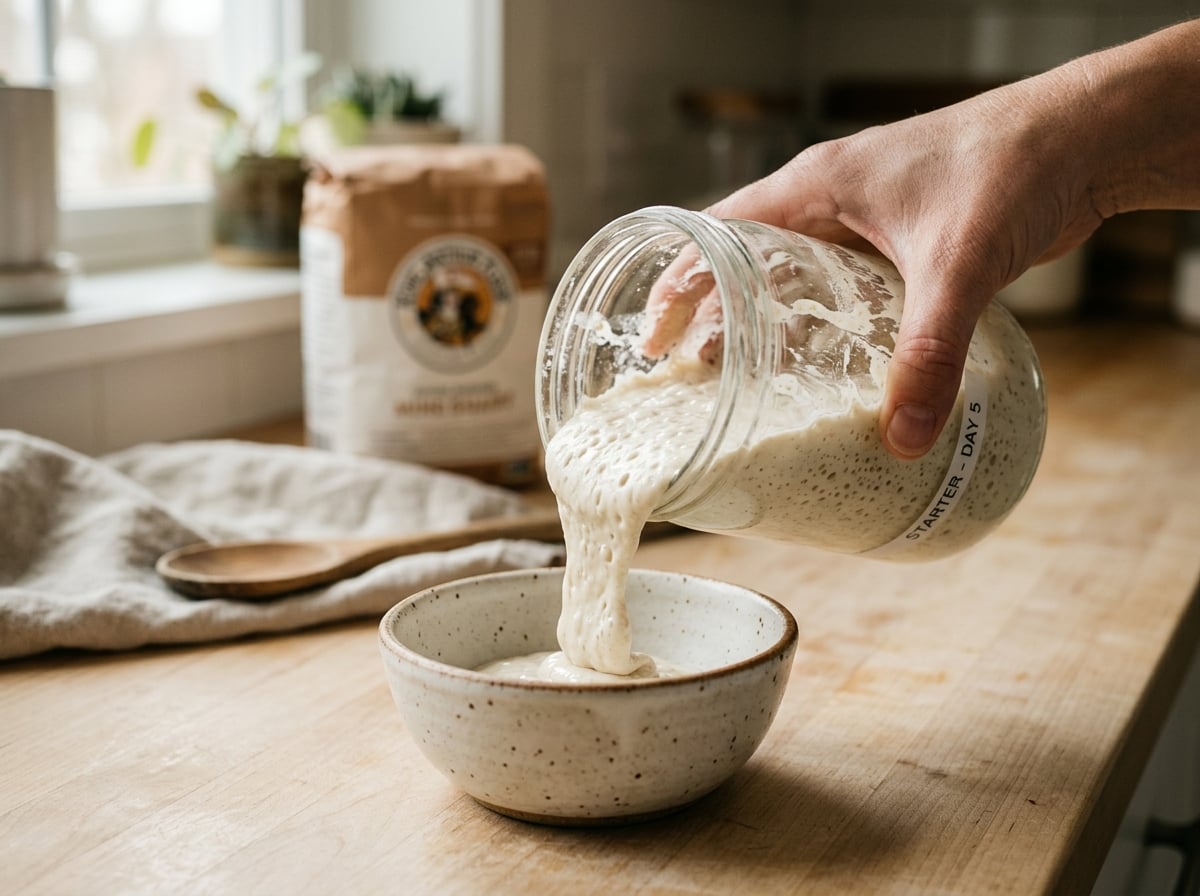
This method is effective for a standard 227-gram (approximately 1 cup) jar of starter, a common size for home bakers:
- Discard first. Begin by removing and discarding (or setting aside for sourdough discard recipes) all but 20 to 30 grams of your existing starter. This step is crucial and not wasteful; a smaller initial population means less old, accumulated acid to dilute and promotes a faster, more vigorous rise. Skipping the discard step is a primary reason starters appear to "stop working" over time, as the jar becomes overwhelmed with old, exhausted culture that new flour and water cannot fully revitalize.
- Weigh, don’t scoop. Always use a digital kitchen scale for precision. Volume measurements for flour can vary by up to 20% depending on how it’s packed, which significantly impacts your intended feeding ratio.
- Combine flour and water. For a standard 1:1:1 feeding: combine 30 grams of starter, 30 grams of flour, and 30 grams of water. For a more extended 1:5:5 feeding: use 20 grams of starter, 100 grams of flour, and 100 grams of water.
- Consider water temperature. Aim for water around 75-80°F (24-27°C). Cold tap water can noticeably slow fermentation, while temperatures above 90°F (32°C) can stress and eventually kill the yeast.
- Mix thoroughly. Stir until no dry flour remains. The consistency should resemble a thick, slightly lumpy pancake batter. Scrape down the sides of the jar to prevent dried bits of old starter from molding.
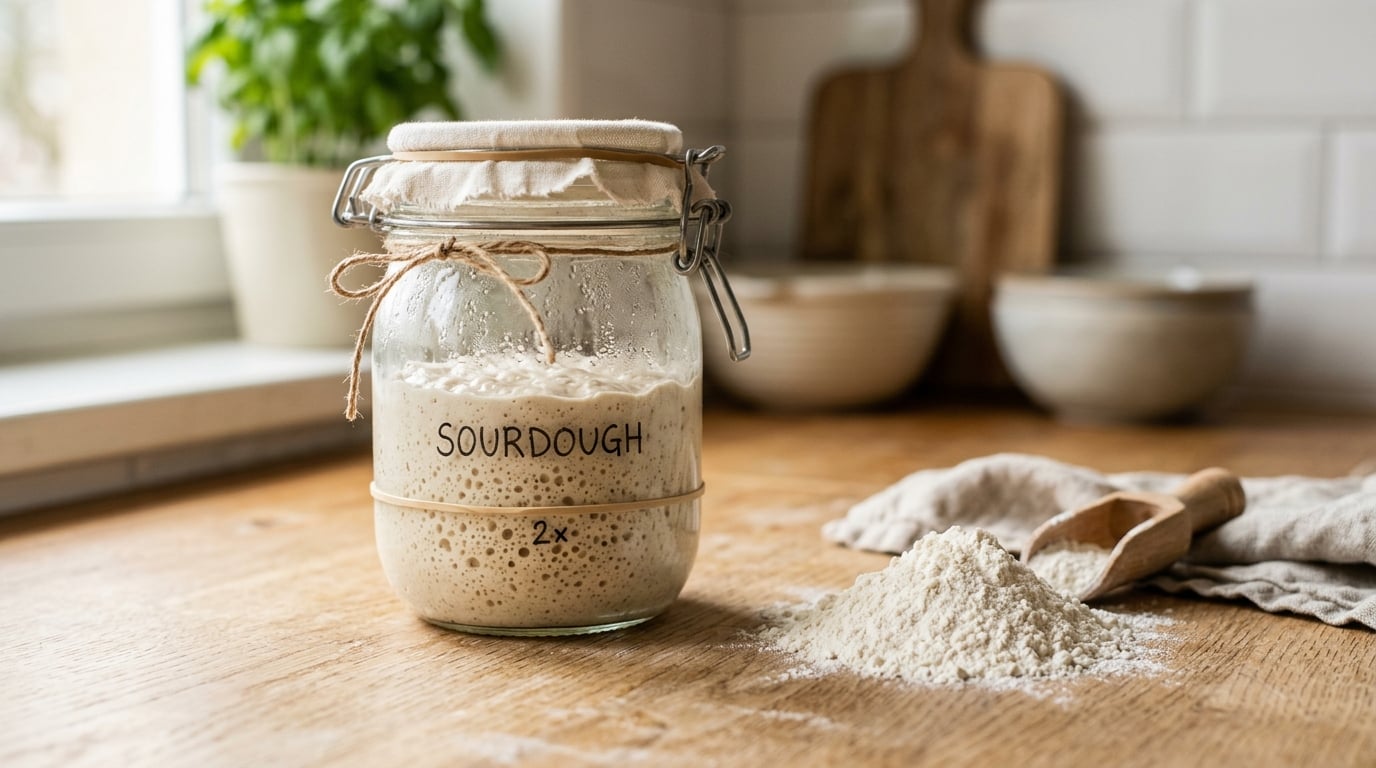
- Mark the level. Placing a rubber band around the jar or using a piece of tape to mark the starter’s initial level allows you to visually track its rise, which is often more informative than relying solely on a clock.
- Cover loosely. Use a lid placed gently on top (not sealed tightly), a breathable cloth, or a jar with an air vent. Fully airtight seals can lead to pressure buildup, while completely open containers can cause the surface to dry out.
The type of flour you choose also influences results. Whole wheat and rye flours ferment more rapidly because they contain a higher concentration of wild yeast and enzymes found in the bran and germ, along with more readily available nutrients. A starter fed exclusively bleached all-purpose flour tends to be less vigorous and flavorful compared to one that receives even a 10-20% blend of rye or whole wheat flour with each feeding. For more on flour types and their impact, see our guide on how to make a sourdough starter from scratch.
Adjusting Sourdough Starter Feeding Frequency for Fridge vs. Counter Storage
Understanding how to adjust your sourdough starter feeding schedule based on storage location is a common point of confusion for beginners.
Counter storage (ambient temperature 68-78°F / 20-26°C) requires feeding every 12 to 24 hours. At the warmer end of this range, waiting closer to 24 hours between feeds with a lean ratio risks over-acidification; with a 1:1:1 ratio, you might need to feed twice a day. A starter kept consistently above 80°F (27°C) ferments so rapidly that even twice-daily feeding can be insufficient, making refrigeration a more practical option.
Refrigerator storage (35-40°F / 2-4°C) significantly slows microbial activity, allowing you to extend feedings to about once a week. Cold temperatures don’t stop fermentation entirely; they merely slow it down. Bacteria continue to produce acid, albeit at a much reduced rate. A starter fed weekly in the fridge will typically develop a layer of dark liquid (known as "hooch") on top by day 5 or 6; this is normal and indicates hunger, not spoilage.
The difference in commitment between these methods is substantial:
| Storage Method | Feeding Frequency | Best For | Typical Ratio |
|---|---|---|---|
| Counter, warm (75-80°F) | Every 12 hours | Daily/frequent bakers | 1:1:1 |
| Counter, cool (65-70°F) | Every 24 hours | Regular weekly bakers | 1:2:2 to 1:5:5 |
| Refrigerator | Once weekly | Occasional bakers | 1:1:1 before refrigerating, 1:1:1 to refresh |
| Refrigerator, extended | Every 2 weeks (adv.) | Very infrequent bakers | 1:1:1, larger volume |
Transitioning between cold and room temperature storage involves a specific step. To move a starter from the fridge to the counter for baking, pull it out, discard all but 20-30g, feed it at a 1:1:1 ratio, and allow it to warm up and peak once or twice. Usually, two feedings over 24 hours will restore full strength, preparing it for baking sourdough bread. Moving from the counter back to the fridge simply means feeding it as usual and then refrigerating it within an hour or two, before it reaches its peak rise, ensuring it enters cold storage with an ample food supply.
Signs Your Sourdough Starter Needs Feeding vs. Is Overfed
Learning to interpret your starter’s visual and aromatic cues is a skill that develops quickly with practice.
A starter that needs to be fed will exhibit several signs: it will have risen and then collapsed, leaving a "watermark" or ring on the jar above its current level; its surface may appear deflated or slightly sunken in the middle; a thin layer of grayish or brownish liquid (hooch) might be pooling on top; and its smell will have transformed from a pleasant, yogurt-like tang to something sharper—resembling acetone, nail polish remover, or strong vinegar. None of these signs indicate a dead starter. They simply mean it’s hungry and has begun metabolizing its own reserves. This is a crucial aspect of understanding and using sourdough starter.
An overfed starter, in contrast, shows almost the opposite characteristics: it appears to never rise significantly, remains flat and dense, and emits a faint, floury, or bland scent rather than a distinct tang. This situation typically arises when the feeding ratio is too lean for the ambient temperature and feeding schedule. Essentially, you’re feeding faster than the microbial population can multiply into the new food, preventing it from building enough gas pressure to show a visible rise between feedings. The solution isn’t more frequent feeding; instead, it’s either a leaner ratio stretched over a longer period or a smaller flour-to-starter jump to allow the population to catch up.
A common mistake is confusing an "overfed" starter with an "underfed" one, as both can appear flat. The key differentiators are smell and hooch. Underfed starters smell sharp and show liquid separation. Overfed starters smell mild and maintain a uniformly thick consistency without any separation.
Troubleshooting Sluggish or Hyperactive Sourdough Starters
A sluggish sourdough starter—one that rises weakly, takes 12+ hours to show significant activity, or appears completely stalled—is usually due to a few common factors. Chlorinated tap water can suppress microbial activity; try switching to filtered or bottled water for a few feedings to see if activity improves. Temperatures below 65°F (18°C) will substantially slow everything down; moving the jar to a warmer location (such as on top of the fridge, near a proofing box, or inside an oven with just the light on) often resolves this within two or three feedings. A starter that is simply old and neglected (weeks without a proper feed) will require several consecutive 1:1:1 feedings every 12 hours to rebuild its population before it behaves normally again.
A hyperactive sourdough starter that rises and falls within 3-4 hours, overflows its jar, or seems to double almost immediately after feeding isn’t necessarily a problem, though it can feel unmanageable. This usually occurs in warm kitchens (above 78°F / 26°C) or with very active rye-heavy cultures. The solution is to either move it to a cooler spot, switch to a leaner feeding ratio like 1:5:5 or 1:10:10, or simply feed it more frequently to avoid missing its peak activity. It’s generally preferable to have a hyperactive starter than a sluggish one; it indicates robust vigor, and managing it is simply a matter of adjusting its food supply.
An interesting edge case: a starter that suddenly becomes hyperactive after months of normal behavior can sometimes indicate a new wild yeast contamination, especially in warm, humid environments. If the smell also shifts to distinctly fruity or boozy rather than tangy, it’s not necessarily a bad thing, but it does mean you should feed sooner and more often to maintain balance. This insight can be helpful when you make a sourdough starter from scratch.
Sample Weekly Sourdough Starter Feeding Schedule for Beginners
For someone maintaining a counter-stored starter and baking approximately once a week, this schedule balances ease of maintenance with consistent results:
- Monday-Thursday: Feed once every 24 hours using a 1:2:2 or 1:3:3 ratio (e.g., 20g starter, 40-60g flour, 40-60g water). Keep the jar at room temperature.
- Friday morning: Perform a stronger 1:1:1 feeding to boost population and vigor in preparation for baking.
- Friday evening or Saturday morning: Feed again at a 1:1:1 ratio, timing it so the starter’s peak rise coincides with when you plan to mix your dough.
- Saturday: Bake, using your starter at or just past its peak (it should have roughly doubled in volume and be domed rather than flat or concave on top).
- Saturday evening or Sunday: Perform one final feeding, then transfer the starter to the refrigerator if you don’t plan to bake again for several days.
For those who bake only every other week, you can skip the daily counter routine entirely. Keep your starter in the fridge, feeding it once weekly at a 1:1:1 ratio. Simply plan for two "build-up" feedings—12 hours apart, at room temperature—starting the day before you intend to bake. This approach typically costs about 150 grams of flour and 150 grams of water per week in maintenance, a small trade-off for not needing to think about it daily.
The long-term success of your sourdough starter depends more on the consistency of your feeding schedule than on achieving theoretical "perfection" with ratios. A starter reliably fed at a modest ratio every day will ultimately outperform one fed an inconsistently perfect ratio. Consistency, more than precision, is the key to maintaining a vibrant starter for years rather than mere weeks.
Leave a Reply