
Mastering Your Sourdough Starter Recipe: Ratios, Timing, & Troubleshooting
Crafting a vibrant sourdough starter from scratch begins with a simple 1:1:1 ratio by weight—equal parts flour, water, and existing starter (once you have some). This mixture is typically fed once or twice daily over 7 to 14 days until it reliably doubles in size within 4 to 8 hours. The good news is that most starters don’t fail due to incorrect ratios, but rather from inconsistent proper feeding schedules, chlorine-rich tap water, or giving up prematurely around day 5 when activity appears to stall. If you nail the ratio and exercise patience, almost any flour can yield a functional starter.
As someone who has cultivated countless starters, including one that has been thriving on my counter since 2019, I can attest that the process is both forgiving and demanding. Understanding which aspects require precision and which allow for flexibility will prevent unnecessary flour waste and frustration.
- Understanding the Basic Flour-to-Water Ratio for Your Sourdough Starter
- Ingredient Essentials: Choosing the Right Flour and Water for Your Sourdough Starter Recipe
- Step-by-Step Sourdough Starter Recipe: A Day-by-Day Timeline for Beginners
- Common Mistakes That Stall Fermentation in Your Sourdough Starter
- How to Confirm Your Sourdough Starter is Ready for Baking
- Frequently Asked Questions About Sourdough Starter Recipes
Understanding the Basic Flour-to-Water Ratio for Your Sourdough Starter
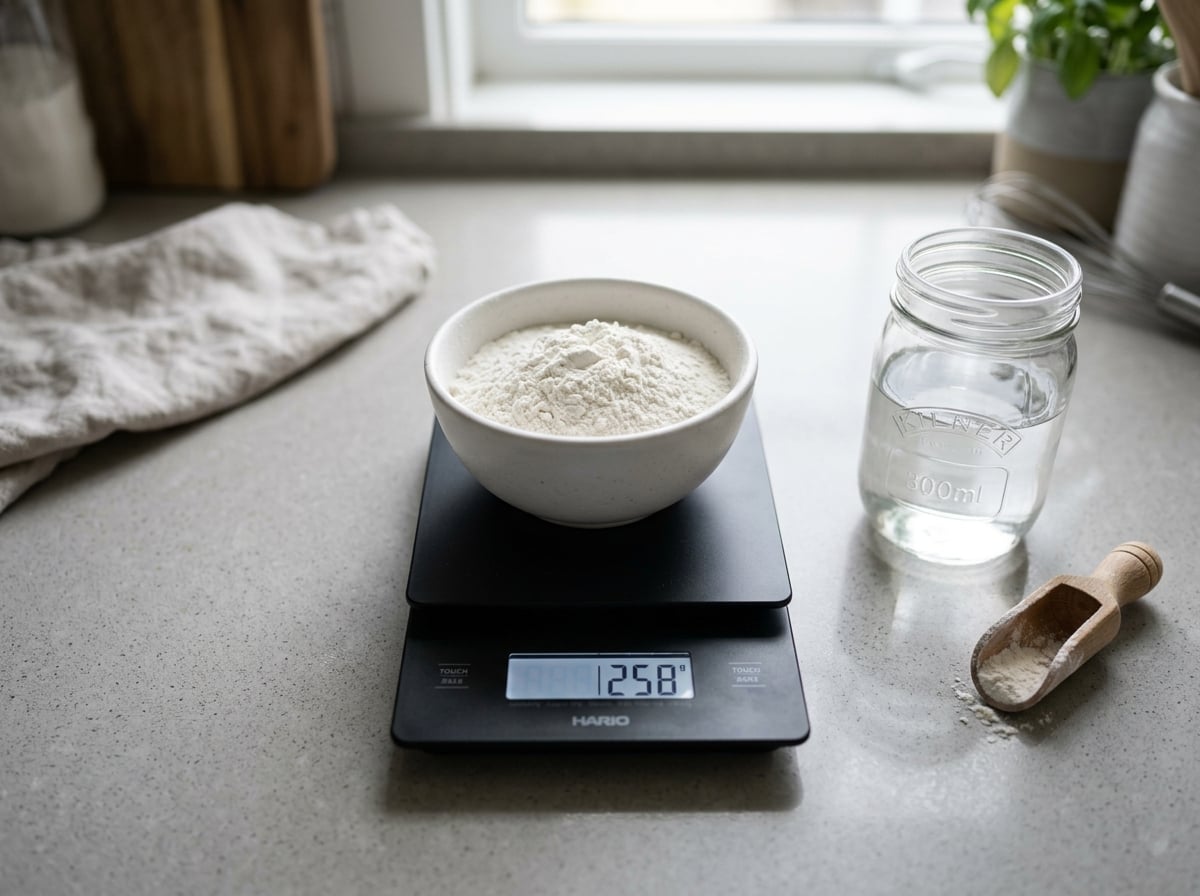
The fundamental sourdough starter recipe begins with a 1:1:1 ratio by weight: equal grams of flour, water, and mature starter. On Day 1, before you have an established starter, you’ll simply mix equal weights of flour and water—for instance, 50 grams of flour to 50 grams of water.
Using a digital kitchen scale is crucial here. A cup of flour can vary significantly in weight (from 120 to 150 grams) depending on how it’s scooped. This inconsistency can drastically alter hydration levels and, consequently, your starter’s behavior. A basic digital scale, readily available for around $12-15, is an essential investment for any aspiring sourdough baker.
Here’s a typical progression of feeding ratios as your sourdough starter matures:
| Stage | Flour | Water | Existing Starter | Purpose |
|---|---|---|---|---|
| Day 1 (initial mix) | 50g | 50g | — | Kickstart fermentation |
| Days 2-6 (early feeds) | 50g | 50g | 50g (discard rest) | Build yeast/bacteria population |
| Days 7-14 (maturing) | 50g | 50g | 25-50g | Stabilize activity |
| Maintenance (established) | 100g | 100g | 25-50g | Long-term feeding |
Once your starter is established, many bakers transition to a 1:2:2 or even 1:5:5 ratio (starter:flour:water). This helps slow down fermentation, extending the time between feedings—ideal if you don’t bake frequently. A 1:1:1 ratio results in a starter that peaks quickly and generally requires feeding every 12 hours. In contrast, a 1:5:5 ratio provides proportionally less starter to consume the fresh food, allowing you to stretch feeding intervals to 24 hours or longer.
Hydration, specifically the water-to-flour ratio, is typically maintained at 100% (equal parts by weight) for a standard liquid starter. Some bakers prefer a stiffer starter at 50-65% hydration, which ferments more slowly and yields a milder flavor. For beginners, I recommend sticking with 100% hydration; its thin, pourable batter consistency makes it much easier to visually gauge rise and fall compared to a dense, dough-like mass.
Ingredient Essentials: Choosing the Right Flour and Water for Your Sourdough Starter Recipe
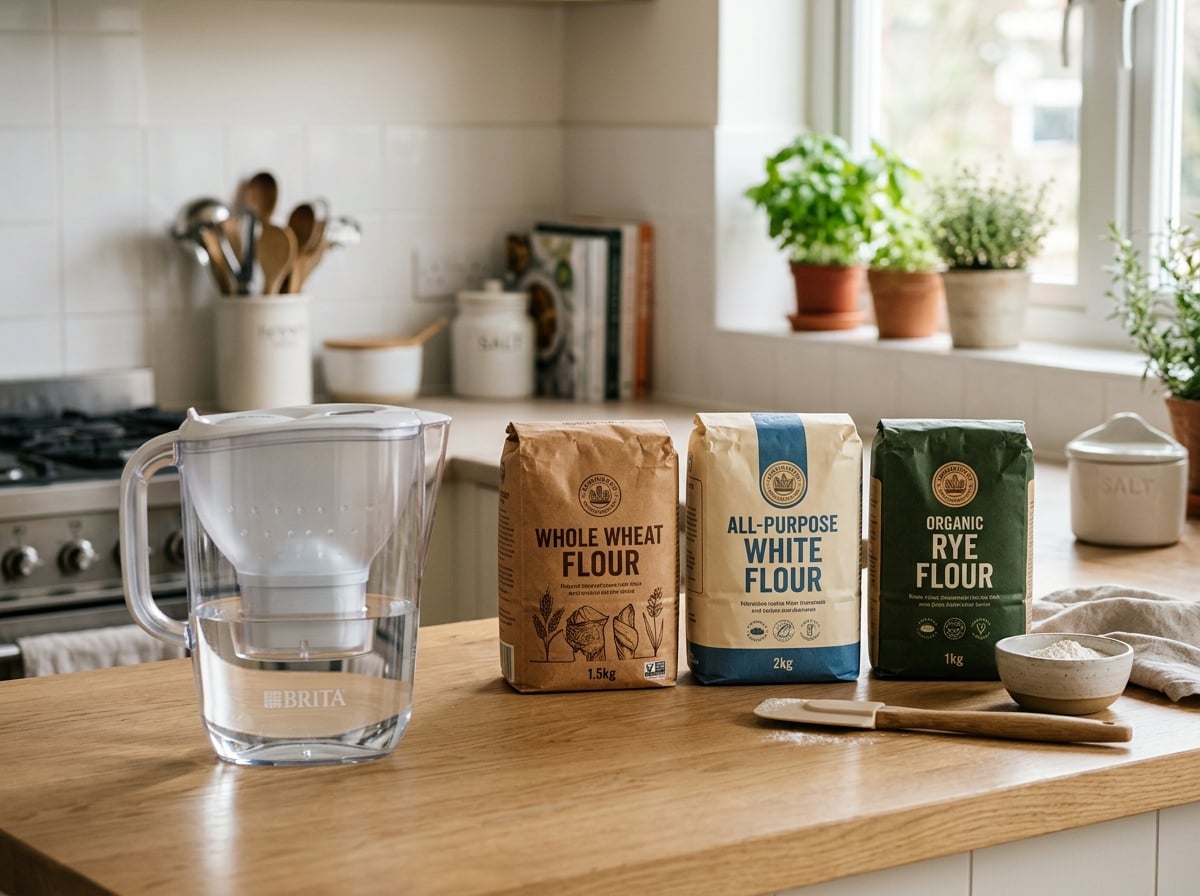
The type of flour you choose significantly impacts the speed and reliability of your sourdough starter development.
Flour Selection
Whole grain flours ferment more rapidly than white flour because they retain the bran and germ. These components naturally contain more wild yeast and bacteria present on the grain, along with additional enzymes and nutrients that fuel fermentation. For this reason, whole wheat and rye flours are highly recommended for initiating a new starter.
Rye flour, in particular, is celebrated among bakers for its ability to invigorate sluggish starters. It’s richer in minerals and fermentable sugars than wheat flour. A common strategy is to begin with 100% whole rye or whole wheat for the initial 3-5 days. Once activity is well-established, you can gradually transition to all-purpose or bread flour. Be aware that rye starters, if fed rye indefinitely, can develop very strong, sometimes acetone-like, sour aromas.
All-purpose flour can certainly work on its own, but the process will generally be slower. The only flour I strongly advise against is bleached flour, as the chemical bleaching process can inhibit the very microorganisms you’re trying to cultivate. While not strictly necessary, unbleached, organic flour often performs slightly better due to the absence of certain fungicides that can carry over into non-organic wheat.
Here’s a practical flour progression that often yields excellent results for a robust sourdough starter recipe:
- Days 1-4: 100% whole wheat or whole rye flour
- Days 5-10: A 50/50 blend of whole grain flour and unbleached all-purpose or bread flour
- Day 10 onward: The type of flour you intend to use for baking, typically all-purpose or bread flour
Water Quality is Key
Chlorinated tap water can suppress fermentation because chlorine is specifically designed to kill microorganisms, which is the opposite of what you want for your starter. The solution is straightforward: allow tap water to sit uncovered for at least 24 hours so the chlorine can dissipate, or use filtered water. A basic carbon filter, like those found in a Brita pitcher, is usually sufficient. However, if your municipal water contains chloramine (a more stable chlorine compound that doesn’t evaporate easily), using filtered or bottled water is a more reliable option.
Water temperature is also important. Aim for room temperature to lukewarm water, ideally between 70-80°F (21-27°C). Cold water will significantly slow down the fermentation process, while water hotter than approximately 110°F (43°C) can kill the delicate yeast and bacteria cultures.
Step-by-Step Sourdough Starter Recipe: A Day-by-Day Timeline for Beginners
This timeline is based on my experience and recommendations, assuming a consistent room temperature of 70-75°F (21-24°C). Keep in mind that warmer environments accelerate fermentation, while cooler temperatures can slow it down considerably.
Day 1: Initial Mix
Combine 50g whole wheat or rye flour with 50g filtered, room-temperature water in a clean glass jar. Stir thoroughly until all dry flour is incorporated. Cover the jar loosely—a coffee filter secured with a rubber band or a jar lid resting on top without sealing works perfectly. Leave it at room temperature.
Day 2: First Feed
You might observe a few small bubbles, or perhaps no activity at all. Both are completely normal at this stage. Discard approximately half of the mixture, then feed your starter with 50g of fresh flour and 50g of water.
Day 3: Increased Activity
Bubbling usually becomes more noticeable, and you might detect a faint yeasty or slightly fruity aroma. Discard half of the starter, then feed again with 50g each of flour and water.
Days 4-5: The “Funk” or False Rise
This period is often where many new starters experience what’s known as “the funk” or a “false rise.” This is an early burst of activity driven by bacteria, not yet the desired yeast, and can be accompanied by an unusual smell reminiscent of gym socks or acetone. This is a normal phase, not a sign of failure! Continue to discard half and feed your starter twice daily (roughly every 12 hours) with equal parts flour and water.
Days 6-7: Potential Slowdown
Activity may seem to dip during these days, which can be concerning for first-time bakers. Do not be discouraged; simply maintain your feeding schedule. If you’ve transitioned to a different flour (e.g., from rye to all-purpose), anticipate a temporary slowdown as the microbial population adapts.
Days 8-10: Consistent Activity Emerges
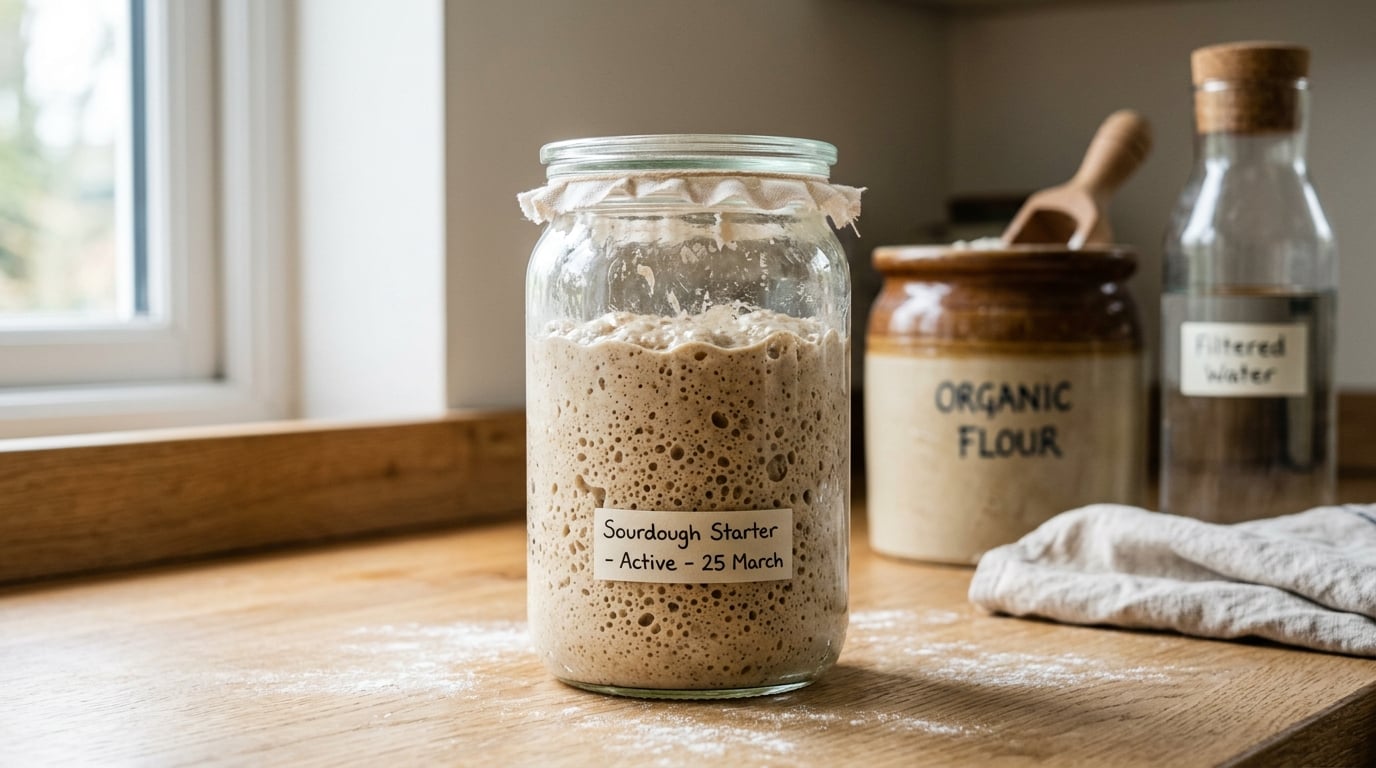
By this point, a healthy starter should typically show clear, visible doubling within 6-8 hours of feeding. Look for a domed, bubbly surface and a pleasant, tangy, yogurt-like aroma.
Days 10-14: Peak Readiness
Doubling should become faster and more consistent, often occurring within 4-6 hours, making its activity predictable. This is generally when most starters are robust enough for their initial test bake.
While some starters can mature more quickly (7-8 days is possible in warm conditions with very active whole grain flour), others may take the full two weeks or even a bit longer. In my experience, a properly maintained starter rarely fails to mature within three weeks, unless there’s a significant issue with the water, flour, or ambient temperature.
Common Mistakes That Stall Fermentation in Your Sourdough Starter
Most issues with stalled sourdough starters can be attributed to one of several recurring problems:
- Infrequent Feeding: Once your starter becomes active, going 24+ hours without feeding (especially at a 1:1:1 ratio) can cause it to deplete its food supply. This often results in a layer of dark liquid called “hooch” and a very sour, alcoholic smell. While occasional hooch isn’t fatal—simply pour it off and feed—chronic underfeeding will weaken the culture over time.
- Incorrect Water Temperature: Water above 110°F (43°C) can kill the yeast on contact. Conversely, water that is too cold (e.g., straight from the refrigerator) will drastically slow down the process, making it difficult to gauge progress.
- Airtight Sealing of the Jar: Fermentation produces carbon dioxide gas. Sealing the jar airtight can build up pressure, which can be detrimental to the starter or even a minor safety concern. A loose cover that allows gas exchange while keeping out dust and fruit flies is the correct approach.
- Giving Up During the Day 4-6 “Funk”: This is, by far, the most common reason people mistakenly believe their starter has died. The sulfurous or acetone-like smell during this phase is a known, temporary stage in the microbial development, not a sign of failure.
- Judging Readiness by Smell or Bubbles Alone: A starter can smell good and show some bubbles without having the necessary strength to effectively leaven bread. Visible, measurable doubling in size after feeding is the true indicator of readiness, not just surface activity or aroma.
- Keeping the Starter Too Cold: A starter left in a chilly kitchen (below 65°F/18°C) may take twice as long, or even longer, to mature. If your home is cool, try placing the jar near (but not directly on) a running appliance, or inside an oven with just the light on to provide a few helpful degrees of warmth.
- Constantly Switching Flours: Frequently changing flour types can disrupt the microbial population and reset its adjustment period. Select a flour plan and adhere to it for at least 4-5 days before considering any changes.
How to Confirm Your Sourdough Starter is Ready for Baking
Your starter is ready to bake with when it successfully passes three key assessments, not just one.
The Float Test: This is the most frequently mentioned test. Drop a small spoonful of active starter into a glass of water. If it floats, it indicates that it’s holding enough gas to be considered active and vigorous. While useful, I view this as a supporting sign rather than the definitive answer, as some perfectly capable starters may sink and still perform beautifully in baking. Do not rely on it exclusively.
The Doubling Test: This is arguably the most important indicator. After feeding your starter, mark its starting level on the side of the jar with a rubber band or grease pencil. A truly ready starter will reliably double in size within 4-8 hours at room temperature, exhibiting a domed, bubbly top before it eventually begins to fall back down.
The Smell and Texture Test: This test completes the readiness assessment. A mature starter should have a pleasant, tangy aroma, reminiscent of yogurt, mild vinegar, or ripe fruit—not sharply acidic like nail polish remover, nor bland and floury with no distinct smell. Its texture should be light, aerated, and visibly full of bubbles throughout the mixture, not just on the surface.
If your starter consistently passes all three checks—it doubles reliably, floats (or comes very close), and emits an appropriately tangy rather than harsh aroma—you are ready to bake! My personal recommendation is to try a simple test loaf with a basic sourdough recipe first. A starter that can successfully leaven a basic sourdough boule demonstrates the strength to handle virtually any other sourdough application, from enriched doughs to pizza crusts and even sourdough discard pretzel bites or pancakes.
Frequently Asked Questions About Sourdough Starter Recipes
How long does it take to make a sourdough starter?
A new sourdough starter typically takes 7 to 14 days to become strong and consistent enough for baking. The exact time can vary depending on factors like room temperature, the type of flour used, and feeding consistency.
What is the best flour for a sourdough starter recipe?
Whole grain flours like whole wheat or rye are excellent for starting a sourdough starter due to their higher yeast and bacteria content, which accelerates fermentation. Once active, you can transition to unbleached all-purpose or bread flour for maintenance.
How often should I feed my sourdough starter?
During the initial development phase (Days 2-14), you should feed your starter once or twice daily, roughly every 12 hours. Once established, if kept at room temperature, it typically needs feeding every 12-24 hours. If stored in the refrigerator, it can be fed once a week.
What does a healthy sourdough starter look and smell like?
A healthy, active sourdough starter will reliably double in size within 4-8 hours after feeding, be full of visible bubbles, and have a pleasant, tangy aroma similar to yogurt or ripe fruit. It should not smell strongly like acetone or sulfur.
My sourdough starter isn’t bubbling. What should I do?
Lack of bubbling is common in the early stages (especially Days 4-6, the “funk”). Ensure you’re using filtered, room-temperature water and unbleached flour. Try increasing the room temperature if it’s too cold. Continue feeding on schedule, and activity should pick up.
Leave a Reply