How to Make Sourdough Starter with Yeast: A Faster Method
Learning how to make sourdough starter from scratch with yeast solves the single biggest complaint about traditional sourdough: the two-week wait. Adding a small amount of commercial yeast to your flour-and-water mixture jump-starts fermentation, giving you a bakeable starter in as little as 3 to 5 days instead of 10 to 14. This guide walks through the exact ratios, schedule, and troubleshooting steps to reliably create a robust sourdough starter.
- Quick Summary / Key Takeaways
- Why Add Commercial Yeast to a Sourdough Starter?
- Key Differences: Yeast-Assisted vs. Traditional Wild Sourdough Starter
- Ingredients and Tools Needed to Make a Sourdough Starter with Yeast
- Step-by-Step Instructions for Mixing the Initial Yeast-Boosted Starter
- Feeding Schedule and Timeline for the First Week
- Signs the Yeast-Assisted Sourdough Starter Is Active and Ready to Use
- Flavor and Rise Comparison to a Fully Wild-Fermented Starter
- Troubleshooting Common Issues When You Make Sourdough Starter with Yeast
- How to Maintain and Store Your Yeast-Assisted Sourdough Starter Long-Term
- FAQs About Using Yeast in Sourdough Starters
Quick Summary / Key Takeaways
- Speed: A yeast-boosted starter becomes usable in 3–5 days versus 10–14 days for a wild-fermented starter.
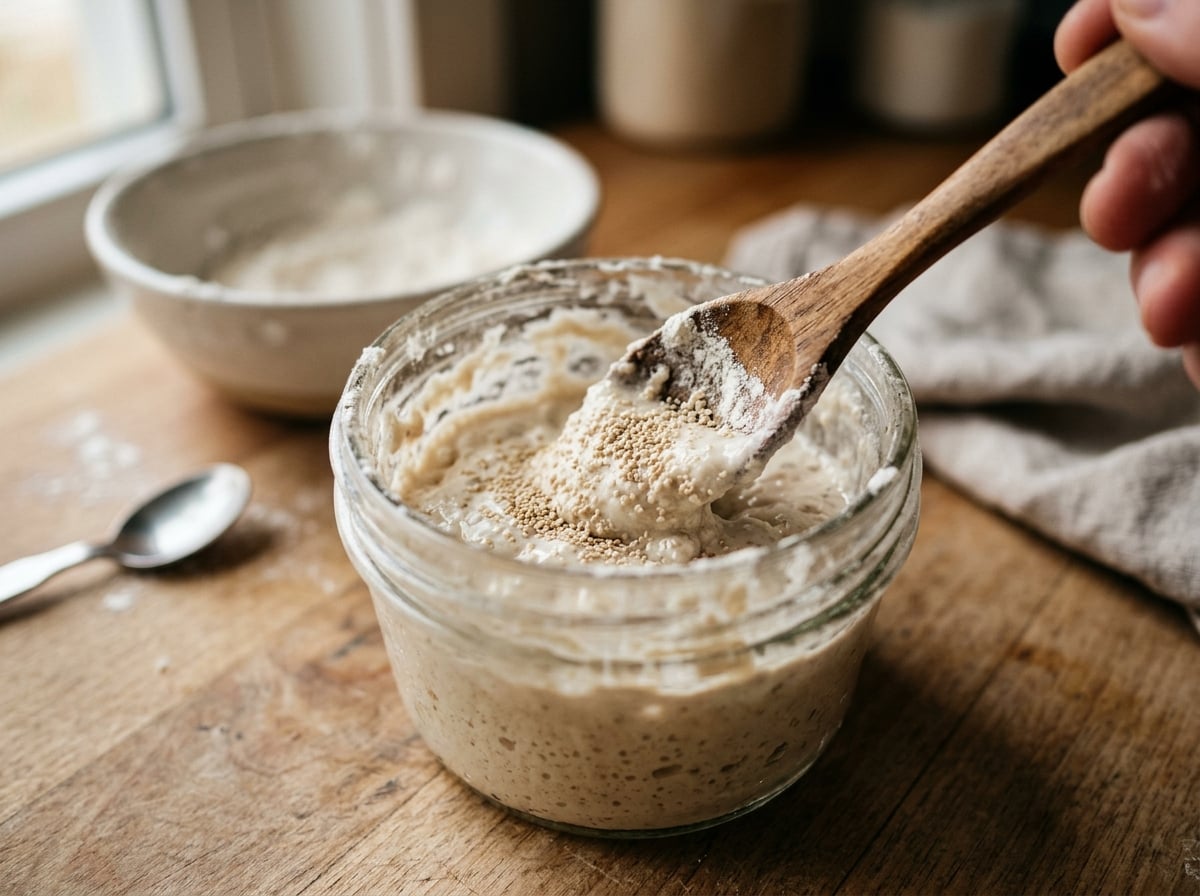
- Ratio: Use 1/8 teaspoon (about 0.5g) of active dry or instant yeast per initial 1:1:1 flour-water mixture — more yeast isn't better.
- Flavor Trade-off: Yeast-assisted starters rise faster but develop less complex sourness initially; extended feeding over weeks closes the gap.
- Maintenance: Once established, this starter is fed and stored exactly like a traditional one — the yeast boost is only needed at the beginning.
Why Add Commercial Yeast to a Sourdough Starter?
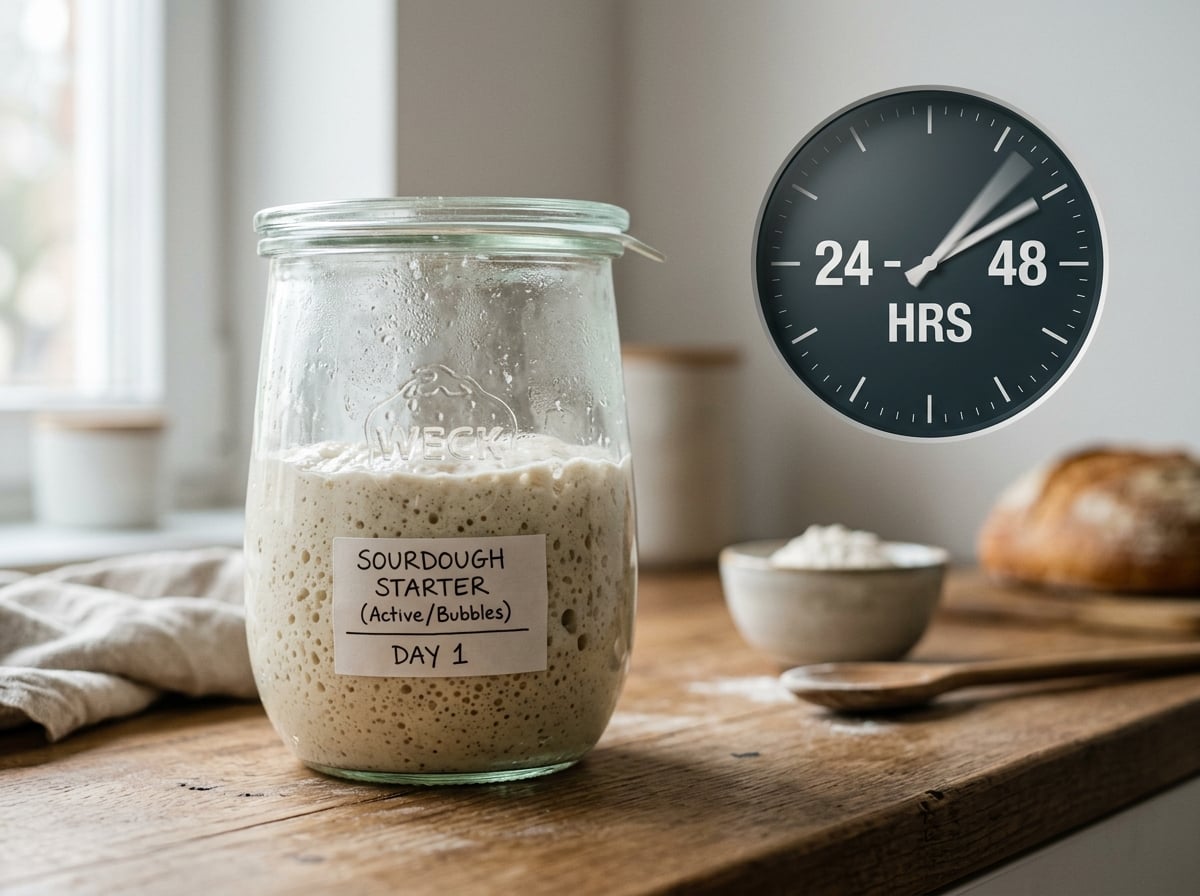
Commercial yeast accelerates the early, unpredictable phase of starter creation by supplying a reliable population of Saccharomyces cerevisiae from day one, rather than waiting for wild yeast to colonize the flour naturally. This produces visible rise and bubbling within 24-48 hours instead of the frustrating five-to-seven-day silence typical of pure flour-and-water starters.
The trade-off is nuance, not function. Wild sourdough starters rely on a slower-building partnership between wild yeasts and lactic acid bacteria, which is what produces the deep, tangy complexity bakers associate with true sourdough. A yeast-assisted starter works — it will leaven bread — but the flavor in the first few weeks tends to taste more like enriched yeast bread than classic sourdough. Given enough time and feedings (two to three weeks of regular maintenance), wild bacteria naturally populate the culture anyway, and the flavor gap narrows substantially.
This method suits people who want a working leavening agent fast: those testing a recipe, teaching a class, or replacing a starter that died. It's not the choice for someone chasing maximum tang or entering a bread competition judged on traditional technique.
Key Differences: Yeast-Assisted vs. Traditional Wild Sourdough Starter
A yeast-assisted starter uses added commercial yeast to guarantee fermentation activity immediately, while a traditional sourdough starter depends entirely on capturing wild yeast and bacteria already present on flour and in the air. The practical difference shows up in timeline, predictability, and initial flavor.
| Factor | Yeast-Assisted Starter | Traditional Wild Starter |
|---|---|---|
| Time to first rise | 24–48 hours | 3–7 days |
| Time to bake-ready | 3–5 days | 10–14 days |
| Initial flavor | Mild, closer to yeasted bread | Tangier, more complex |
| Reliability | High — less dependent on ambient microbes | Variable — affected by flour, climate, water |
| Long-term flavor (after 3+ weeks) | Converges toward traditional sourdough | Full sourdough complexity from start |
| Best for | Beginners, quick projects, revived starters | Purists, long-term bakers, deep flavor development |
Both methods result in an identical maintenance routine once established. The yeast is a scaffold, not a permanent ingredient — after the first week, you're feeding and maintaining a normal starter.
Ingredients and Tools Needed to Make a Sourdough Starter with Yeast
You need four ingredients and four pieces of equipment; nothing specialty. Precision matters more than volume here, so a kitchen scale is non-negotiable if you want consistent results batch after batch.
Ingredients:
- Unbleached all-purpose or bread flour (whole wheat or rye works too, and ferments faster due to higher wild microbe content)
- Filtered or dechlorinated water, room temperature (68-72°F / 20-22°C)
- Active dry yeast or instant yeast — only a pinch is needed
- Nothing else. Skip sugar, honey, or juice; they're unnecessary and can encourage the wrong organisms
Tools:
- A digital kitchen scale accurate to 1 gram — cups and tablespoons introduce too much variance in flour weight
- A wide-mouth glass or plastic jar (at least 16 oz / 500ml) — glass lets you watch bubble activity through the sides
- A rubber band or marker to track rise height against the jar
- A clean spoon or spatula for stirring, and a breathable cover (coffee filter, cloth, or loosely set lid)
For measuring accuracy and understanding hydration ratios more broadly, the King Arthur Baking flour hydration guide is a useful reference if you want to experiment with different flour-to-water percentages later.
Step-by-Step Instructions for Mixing the Initial Yeast-Boosted Starter
Mix equal parts by weight of flour and water, then stir in a tiny fraction of yeast — roughly 1/8 teaspoon (0.5g) per 50g flour and 50g water. This ratio provides enough live yeast to kickstart fermentation without overwhelming the culture or masking the wild organisms you want to eventually dominate.
Day 1 — Initial Mix:
- Weigh 50g flour and 50g room-temperature water into your jar.
- Add 1/8 teaspoon (about 0.5g) active dry or instant yeast. If using active dry, you don't need to proof it separately — it will activate directly in the flour-water mixture.
- Stir vigorously until no dry flour remains and the mixture looks like thick pancake batter.
- Mark the current height on the jar with a rubber band.
- Cover loosely (not airtight — carbon dioxide needs to escape) and place somewhere consistently warm, ideally 75-80°F (24-27°C). A turned-off oven with the light on, or the top of the refrigerator, works well.
Within 12-24 hours you should see bubbles forming on the surface and along the sides, along with a rise past your rubber band marker. This is faster than any wild-only method and confirms the yeast is active.
Feeding Schedule and Timeline for the First Week
Feed the starter once every 24 hours for the first three days, then twice daily starting day four as fermentation accelerates. Each feeding discards half the starter and replaces it with fresh equal-weight flour and water — no additional commercial yeast after the initial mix.
Days 1-3: Feed once every 24 hours. Discard half the mixture, then add 50g flour and 50g water. Stir, remark the jar, cover, and return to your warm spot.
Days 4-5: Switch to twice-daily feeding (roughly every 12 hours) as the culture consumes food faster. Same discard-and-feed ratio applies.
Days 6-7: Continue twice-daily feeding. By this point, you should see a consistent, predictable rise-and-fall cycle — rising to double within 4-6 hours of feeding, then collapsing.
By day 5 or 6, most yeast-assisted starters are strong enough for a test bake. This is roughly half the timeline of a traditional flour-and-water starter, which typically needs 10-14 days to reach the same reliability.
Signs the Yeast-Assisted Sourdough Starter Is Active and Ready to Use
A ready starter doubles in volume within 4-6 hours of feeding, is covered in visible surface bubbles, and smells pleasantly sour or yeasty rather than sharp or rotten. These three signals together — not any single one — confirm readiness.
Run the float test to confirm: drop a small spoonful into a glass of water. If it floats, there's enough trapped gas to leaven bread. If it sinks, give it another 12 hours and retest. Smell is the most overlooked indicator — a healthy starter smells like yogurt, ripe fruit, or fresh bread dough. If it smells like nail polish remover (acetone), it's hungry and needs feeding sooner; if it smells like garbage or sulfur, something has gone wrong (see troubleshooting below).
Flavor and Rise Comparison to a Fully Wild-Fermented Starter
Yeast-assisted starters rise faster and more predictably in the first two weeks but taste noticeably milder than wild-fermented starters during that same window. The added commercial yeast outcompetes wild strains early on, delaying the buildup of lactic and acetic acid that create classic sourdough tang.
By week three or four of regular feeding, most bakers report the flavor difference becomes difficult to detect in a blind taste test. The commercial yeast population naturally declines relative to wild yeast and bacteria that colonize the culture over time, especially if you switch to whole grain flour for a few feedings to introduce more diverse microbes. If tang is your top priority, feed with a small percentage of rye or whole wheat flour weekly even after the starter matures — it measurably boosts acidity.
Troubleshooting Common Issues When You Make Sourdough Starter with Yeast
Most starter problems trace back to temperature, feeding ratio, or contamination — rarely to bad flour or "bad luck." Diagnosing the specific symptom quickly prevents wasted days.
No rise after 48 hours: Check your kitchen temperature first. Below 70°F (21°C), fermentation slows dramatically. Move the jar somewhere warmer, or use lukewarm (not hot — above 95°F/35°C kills yeast) water in the next feeding.
Off smells (acetone, sharp vinegar): This means the culture is hungry, not dead. It's metabolized available sugars and produced excess ethanol and acetic acid. Feed immediately and increase feeding frequency.
Liquid separation (hooch): A layer of grayish liquid on top is normal and simply means the starter went too long between feedings. Pour it off or stir it back in, then feed as scheduled. It's not mold and doesn't indicate failure.
Pink, orange, or fuzzy spots: This is mold or harmful bacteria, not a normal byproduct. Discard the entire starter and jar contents — don't try to salvage it by scooping around the spot, since contamination runs deeper than what's visible.
Starter stalls after initial strong rise: Common around day 4-5 as the commercial yeast population declines before wild organisms fully establish. This is normal; continue the regular feeding schedule and activity typically resumes within 24-48 hours.
How to Maintain and Store Your Yeast-Assisted Sourdough Starter Long-Term
Once established, maintain a yeast-assisted starter exactly like a traditional one — daily feeding at room temperature for active bakers, or weekly feeding in the refrigerator for occasional bakers. No further commercial yeast additions are needed after the first week.
For daily baking, keep the starter on the counter and feed once every 24 hours using the same discard-half, replace-with-equal-weight-flour-and-water method. For less frequent baking, store it in the refrigerator and feed once weekly; pull it out and let it come to room temperature with one or two feedings 24-48 hours before you plan to bake sourdough bread.
To pause maintenance entirely for extended periods, dry a thin layer of starter on parchment paper, crumble it once fully dehydrated, and store it in an airtight container. Dried starter rehydrates with a feeding or two when needed again. For deeper guidance on ratios and hydration percentages during ongoing maintenance, The Perfect Loaf's starter maintenance guide covers advanced adjustments well beyond the basics.
FAQs About Using Yeast in Sourdough Starters
Does adding yeast to a sourdough starter make it not "real" sourdough?
No — once the starter matures over several weeks, wild yeast and bacteria naturally dominate regardless of the initial boost, producing a culture functionally identical to a traditional one. The commercial yeast added on day one becomes a minor, then negligible, contributor to the final microbial balance.
How much yeast should I add to start a sourdough starter?
Use approximately 1/8 teaspoon (0.5g) of active dry or instant yeast per 50g flour and 50g water in the initial mix only. Adding more doesn't speed things up meaningfully and can actually suppress wild yeast development by over-saturating the environment with one strain.
Can I use instant yeast instead of active dry yeast for a starter?
Yes, instant yeast works identically to active dry yeast in this method and doesn't require proofing in water beforehand. Simply mix it directly into the flour and water at the same 0.5g quantity.
Why does my yeast-boosted starter smell like beer or alcohol?
This smell indicates the yeast has consumed available sugars and produced ethanol as a byproduct, which is completely normal, especially between feedings. Feed the starter promptly and the smell should shift back to a milder, tangy aroma within a few hours.
How long does a yeast-assisted starter take to be strong enough for bread?
Most yeast-assisted starters are ready for a test bake by day 5 or 6, roughly half the time of a traditional wild-caught starter. Confirm readiness with the float test and a consistent doubling pattern within 4-6 hours of feeding before baking with it.
Can I convert an already-failing starter by adding yeast to revive it?
Yes, adding a small pinch of commercial yeast to a sluggish or seemingly dead starter can often revive activity within 24 hours, provided there's no mold or off-putting rotten smell present. If contamination is visible, discard and start fresh rather than attempting to rescue it.
Leave a Reply